

Off-Grid Basecamp: How to Build the Ultimate Wilderness Canvas Tent Setup
When you are miles away from the nearest trailhead, your tent is more than just a place to sleep, it is your primary shelter, your warming hut, and your command center. For serious wilderness adventurers, flimsy nylon dome tents simply do not cut it for extended off-grid trips.
If you are setting up a deep-woods hunting camp, a high-altitude expedition base, or a long-term scout retreat, you need gear built for uncompromising durability. Here is how to build the ultimate 4-season wilderness basecamp using heavy-duty canvas.
Plus, gear up for your next expedition for less—our 15% Off Summer Sale is happening right now!
1. Choose Your Shelter: Bell Tent vs. Wall Tent
Your environment dictates your structure. Both bell tents and wall tents offer incredible wind resistance and longevity, but they serve slightly different wilderness needs.
-
The Wall Tent: The undisputed king of the long-term wilderness camp. With vertical walls, you maximize every square inch of interior space, making it perfect for setting up cots, gear racks, and tables. If you are hauling gear in by truck or ATV for a multi-week stay, a wall tent provides a true cabin-like experience.
-
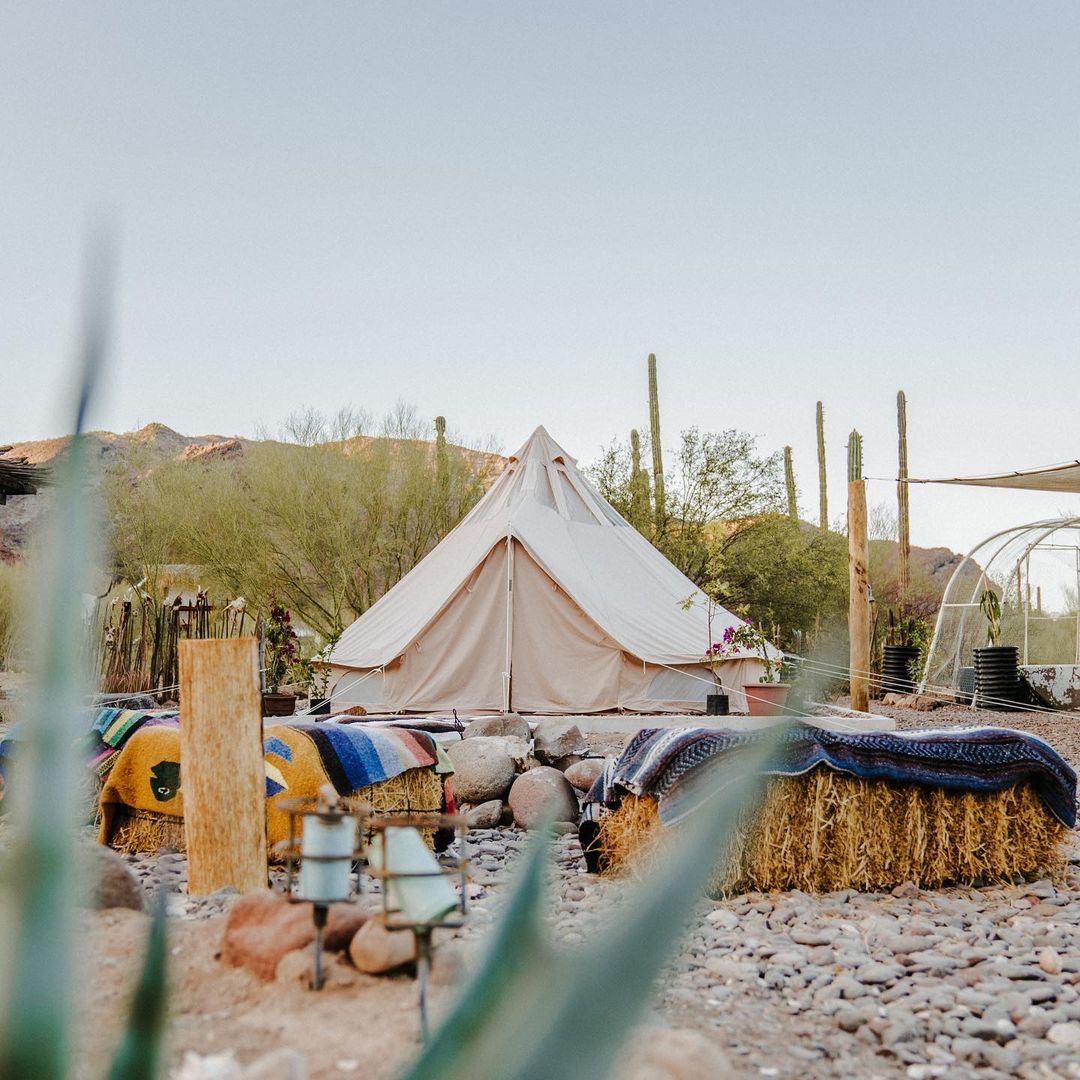
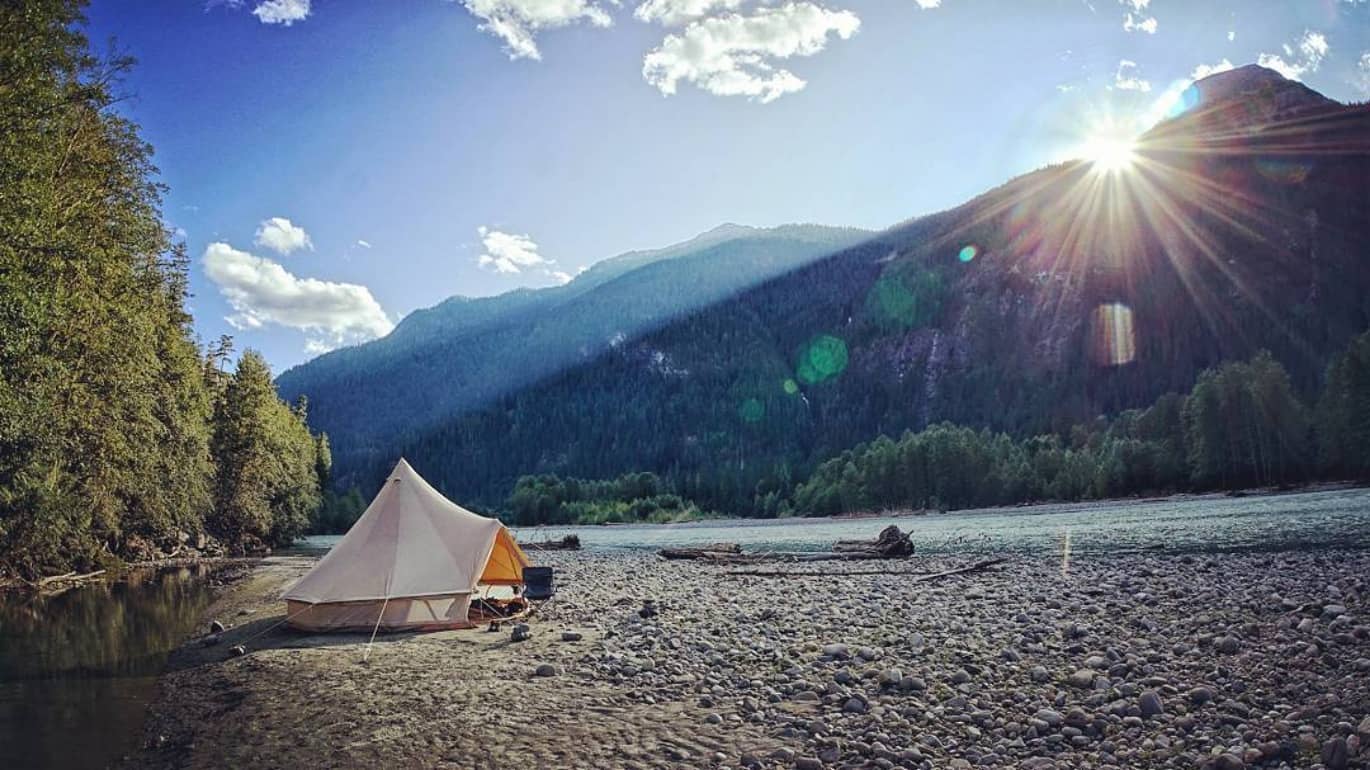
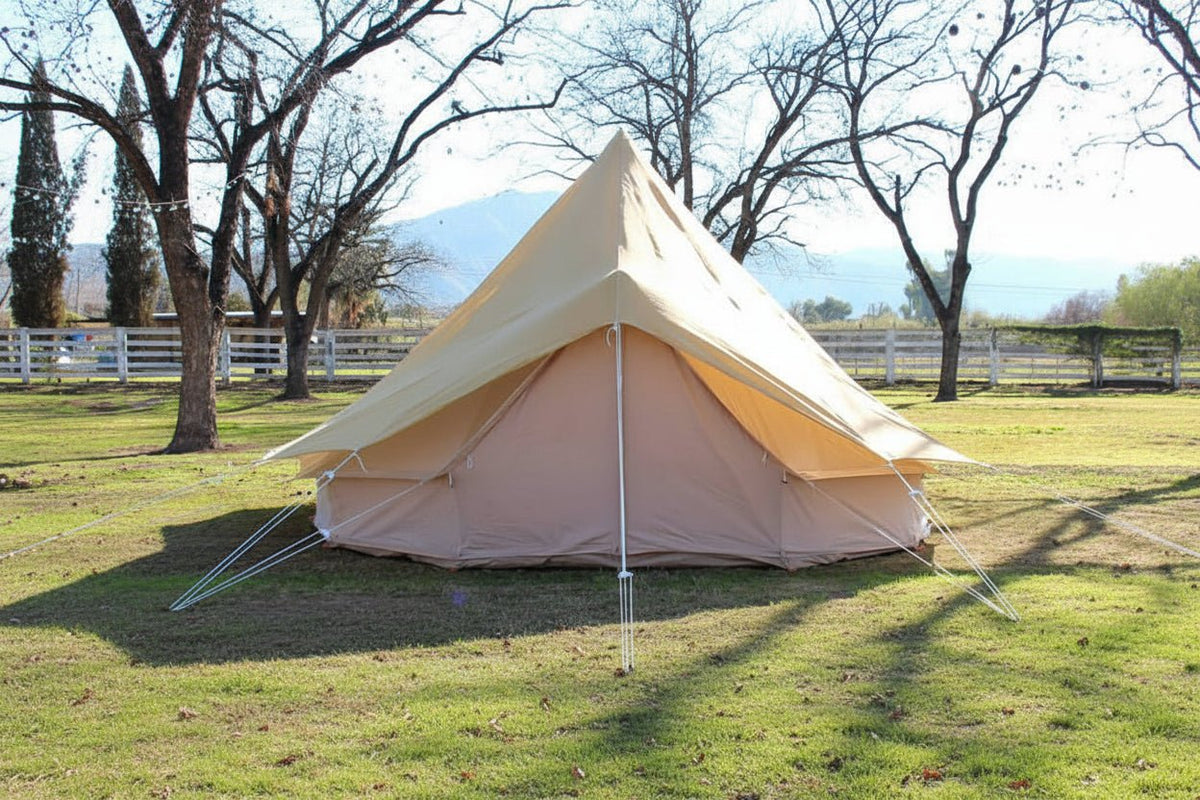
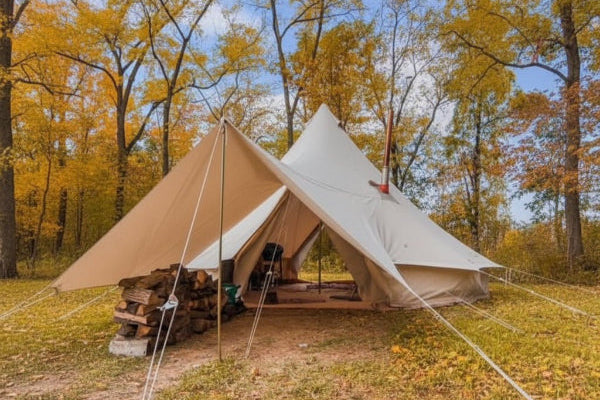
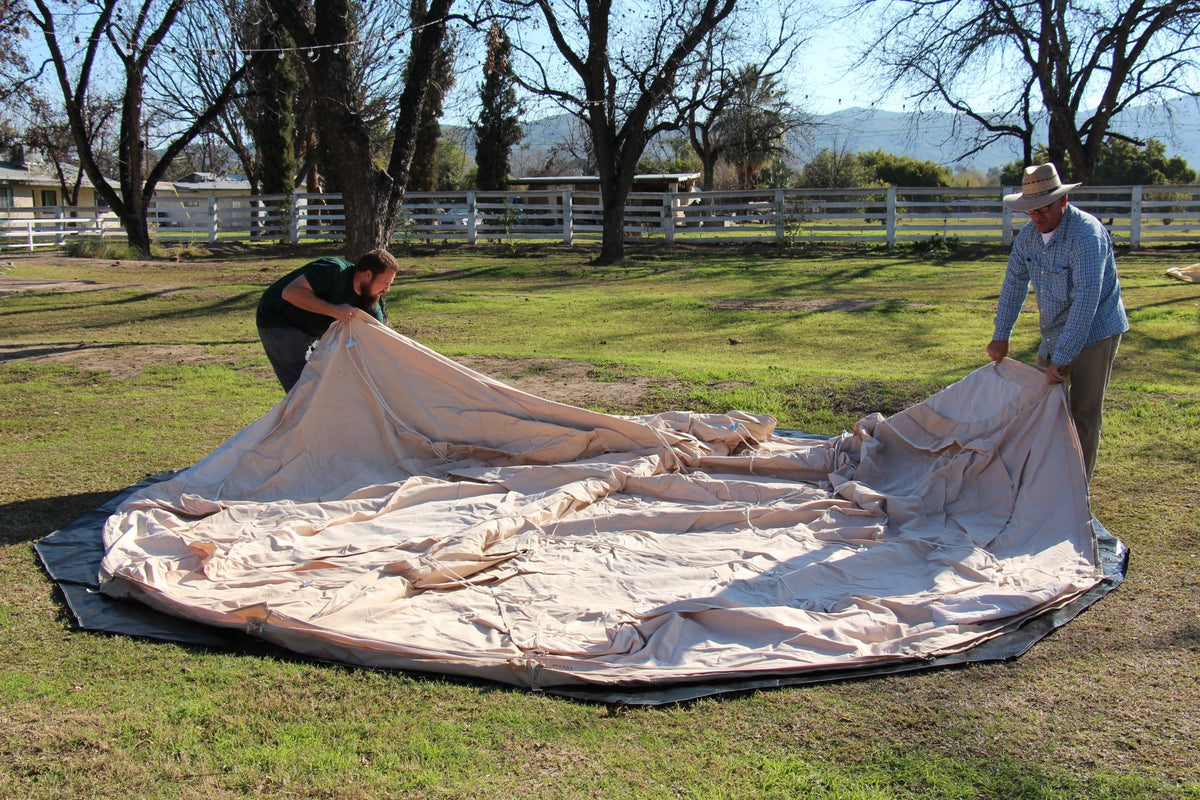
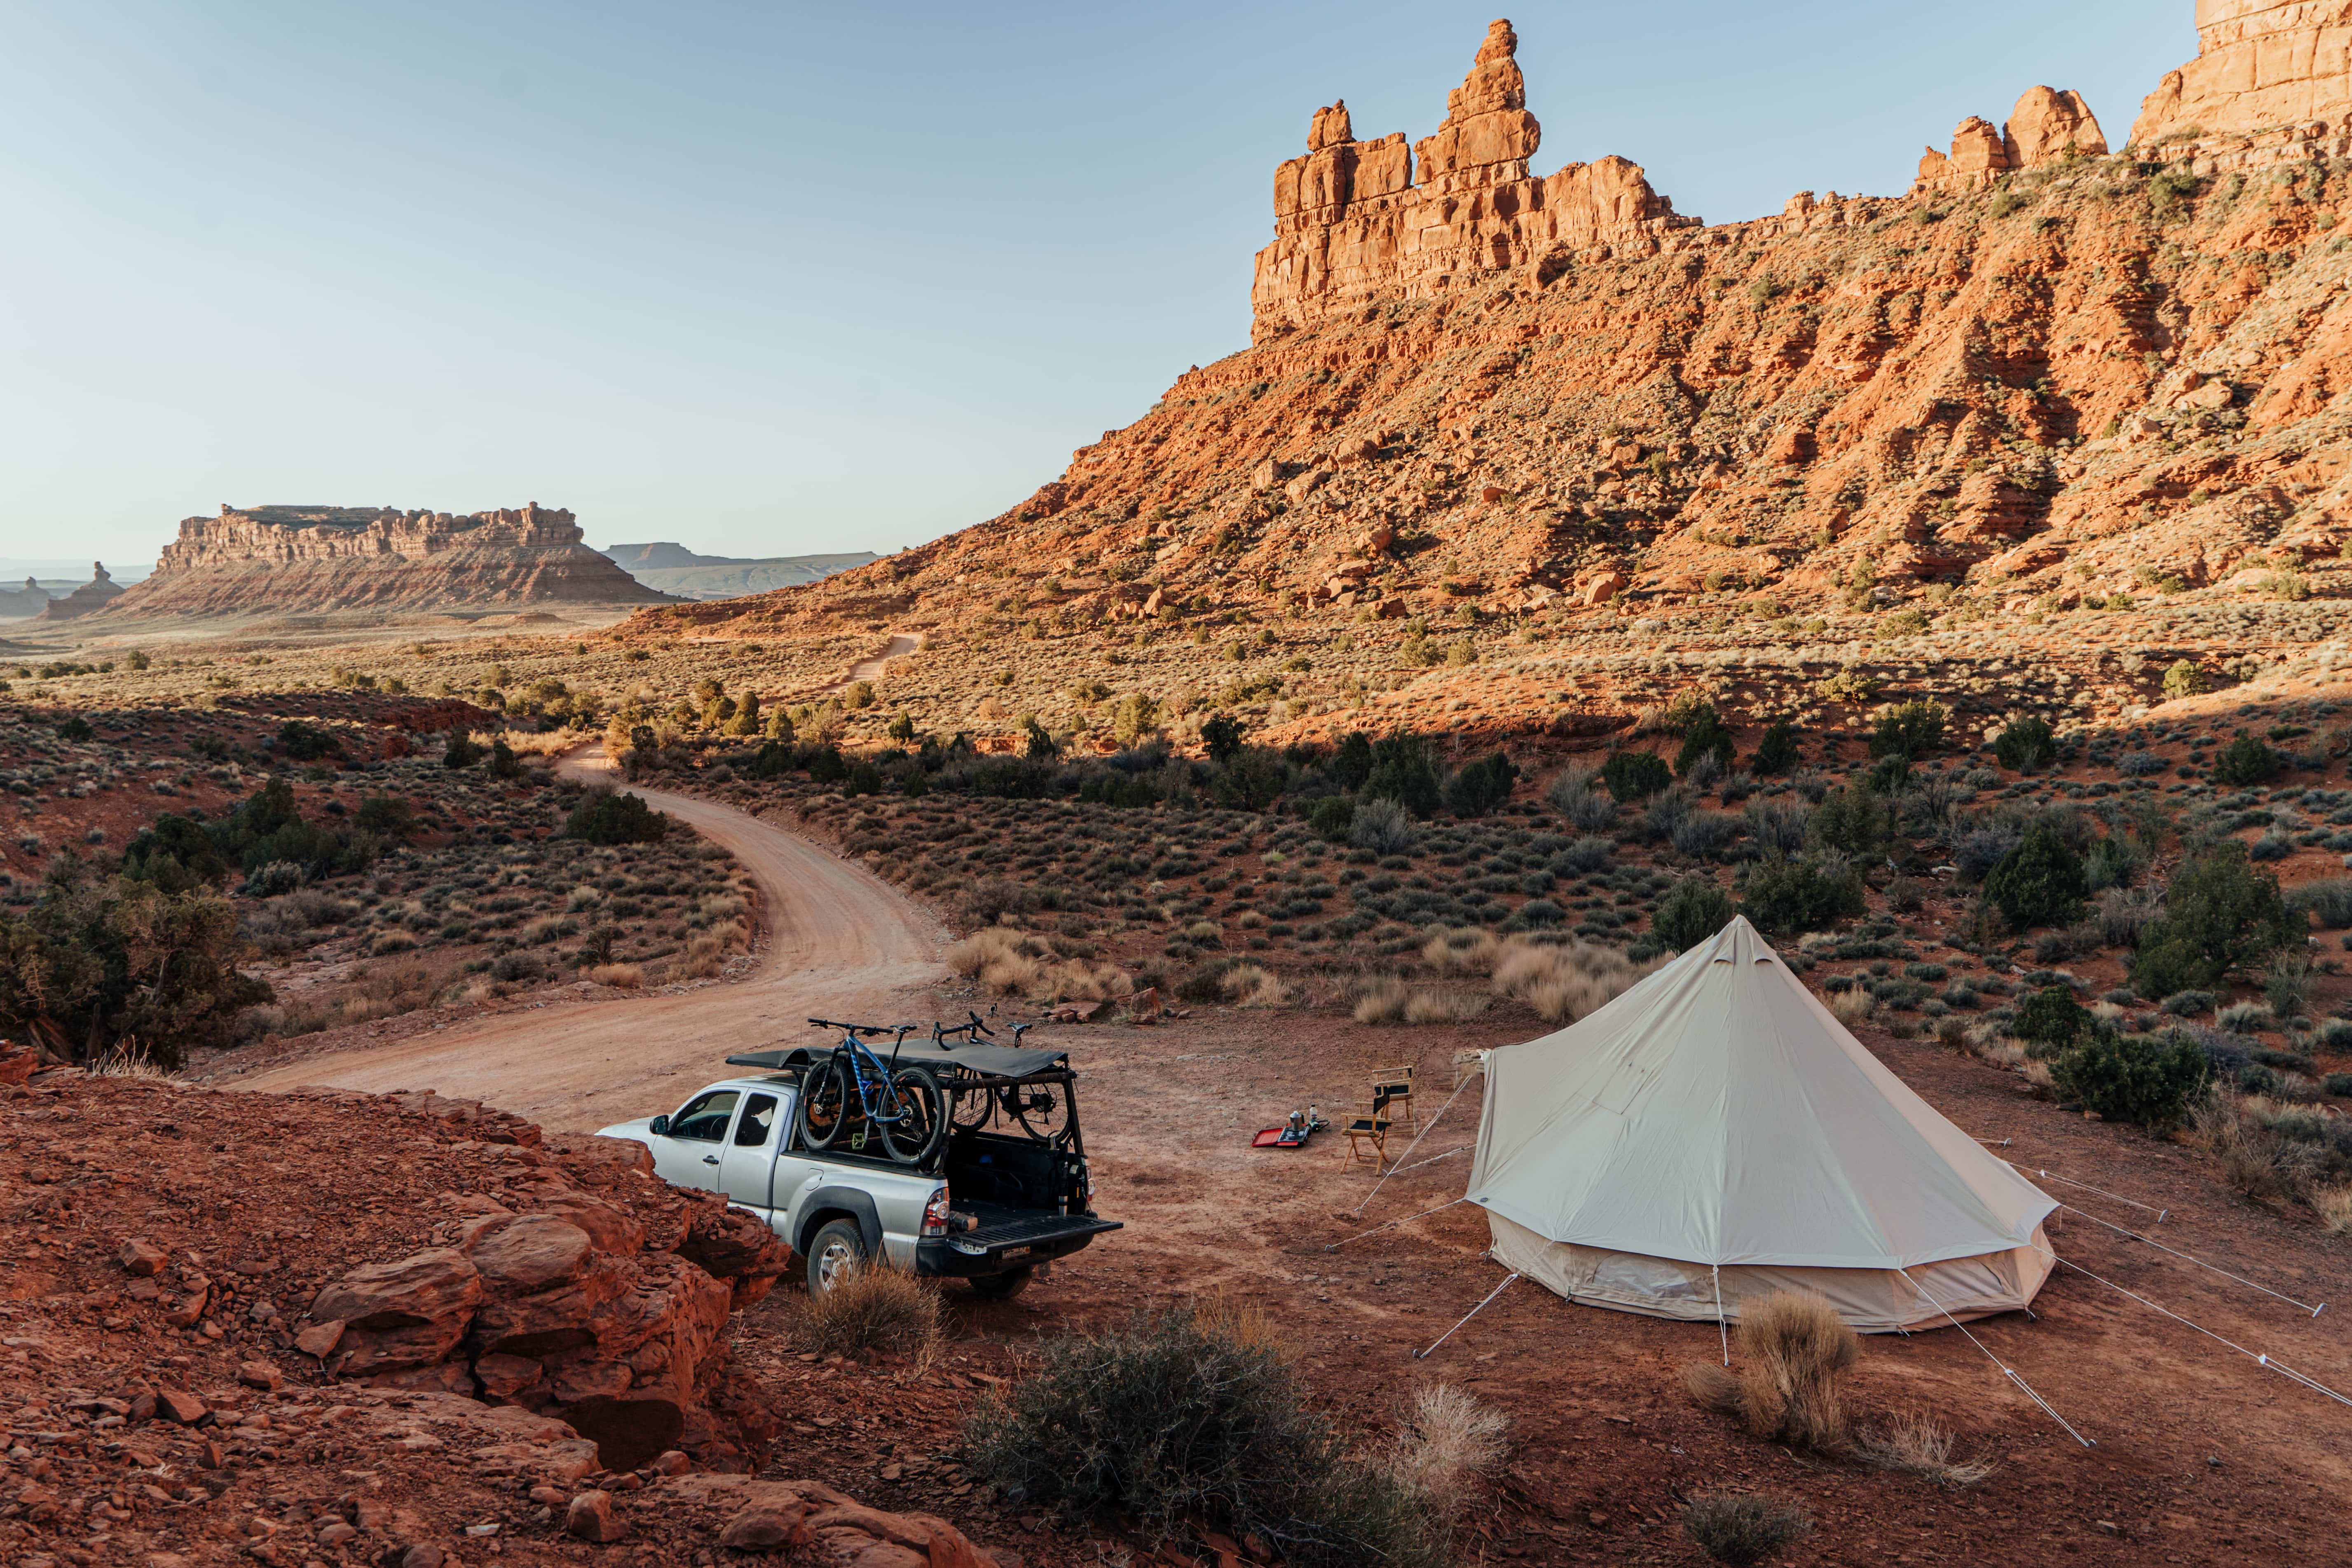
The Bell Tent: If you need something slightly more mobile that can be pitched quickly by one or two people, a 16-foot heavy-duty bell tent is the perfect hybrid of ruggedness and efficiency. Its aerodynamic conical shape sheds high winds and heavy snow loads exceptionally well.
2. Equip for 4-Season Warmth (The Hot Tent Setup)
The biggest advantage of a canvas structure is the ability to safely run a wood-burning camp stove inside. This turns a freezing wilderness trip into a comfortably warm, dry experience where you can boil water, cook meals, and dry out wet clothing.
When configuring your hot tent, safety and efficiency are paramount. Ensure your shelter is equipped with a high-quality flashing kit built directly into the canvas. You will want to pair your stove with triple-wall pipes to prevent the canvas from overheating at the exit point, and always lay down a heavy-duty fireproof mat beneath the stove body to protect your groundsheet from stray embers.
3. Master Your Weather Protection
Unpredictable wilderness weather requires smart exterior protection, but you don't want to overcomplicate your rig with unnecessary gear.
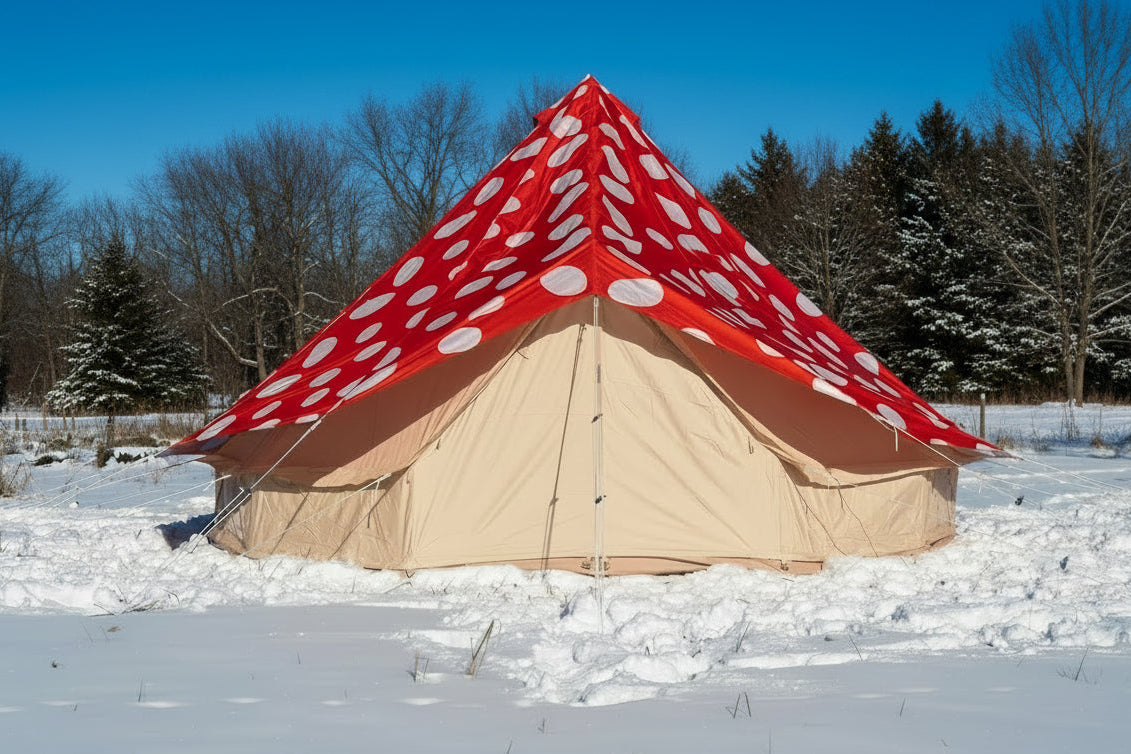
Depending on your environment, you should add an overhead layer to protect the canvas and extend its lifespan. If you are camping in an exposed, high-UV environment (like the desert southwest), a canvas sunshade is essential. If you are heading into the wet, precipitous backcountry, string up a waterproof rain fly.
Pro-Tip: Keep your pack weight down and your setup simple, you never need to pitch a sunshade and a rain fly at the same time. They serve the exact same protective purpose for the roof of your tent, so just pack the one that best matches your trip's weather forecast.
4. Anchor It Down
A wilderness tent is only as strong as its anchor points. Ditch the standard aluminum pegs and upgrade to specialized, heavy-duty steel tent stakes. When high winds rip through a canyon or a snowstorm hits your ridgeline camp, oversized rebar-style stakes ensure your basecamp isn't going anywhere.
🔥 Upgrade Your Wilderness Basecamp for 15% Off! Don't compromise on your backcountry shelter. Shop our 15% Off Summer Sale today to secure your commercial-grade canvas tents, wood-burning stove accessories, and heavy-duty hardware before your next adventure.
Read more
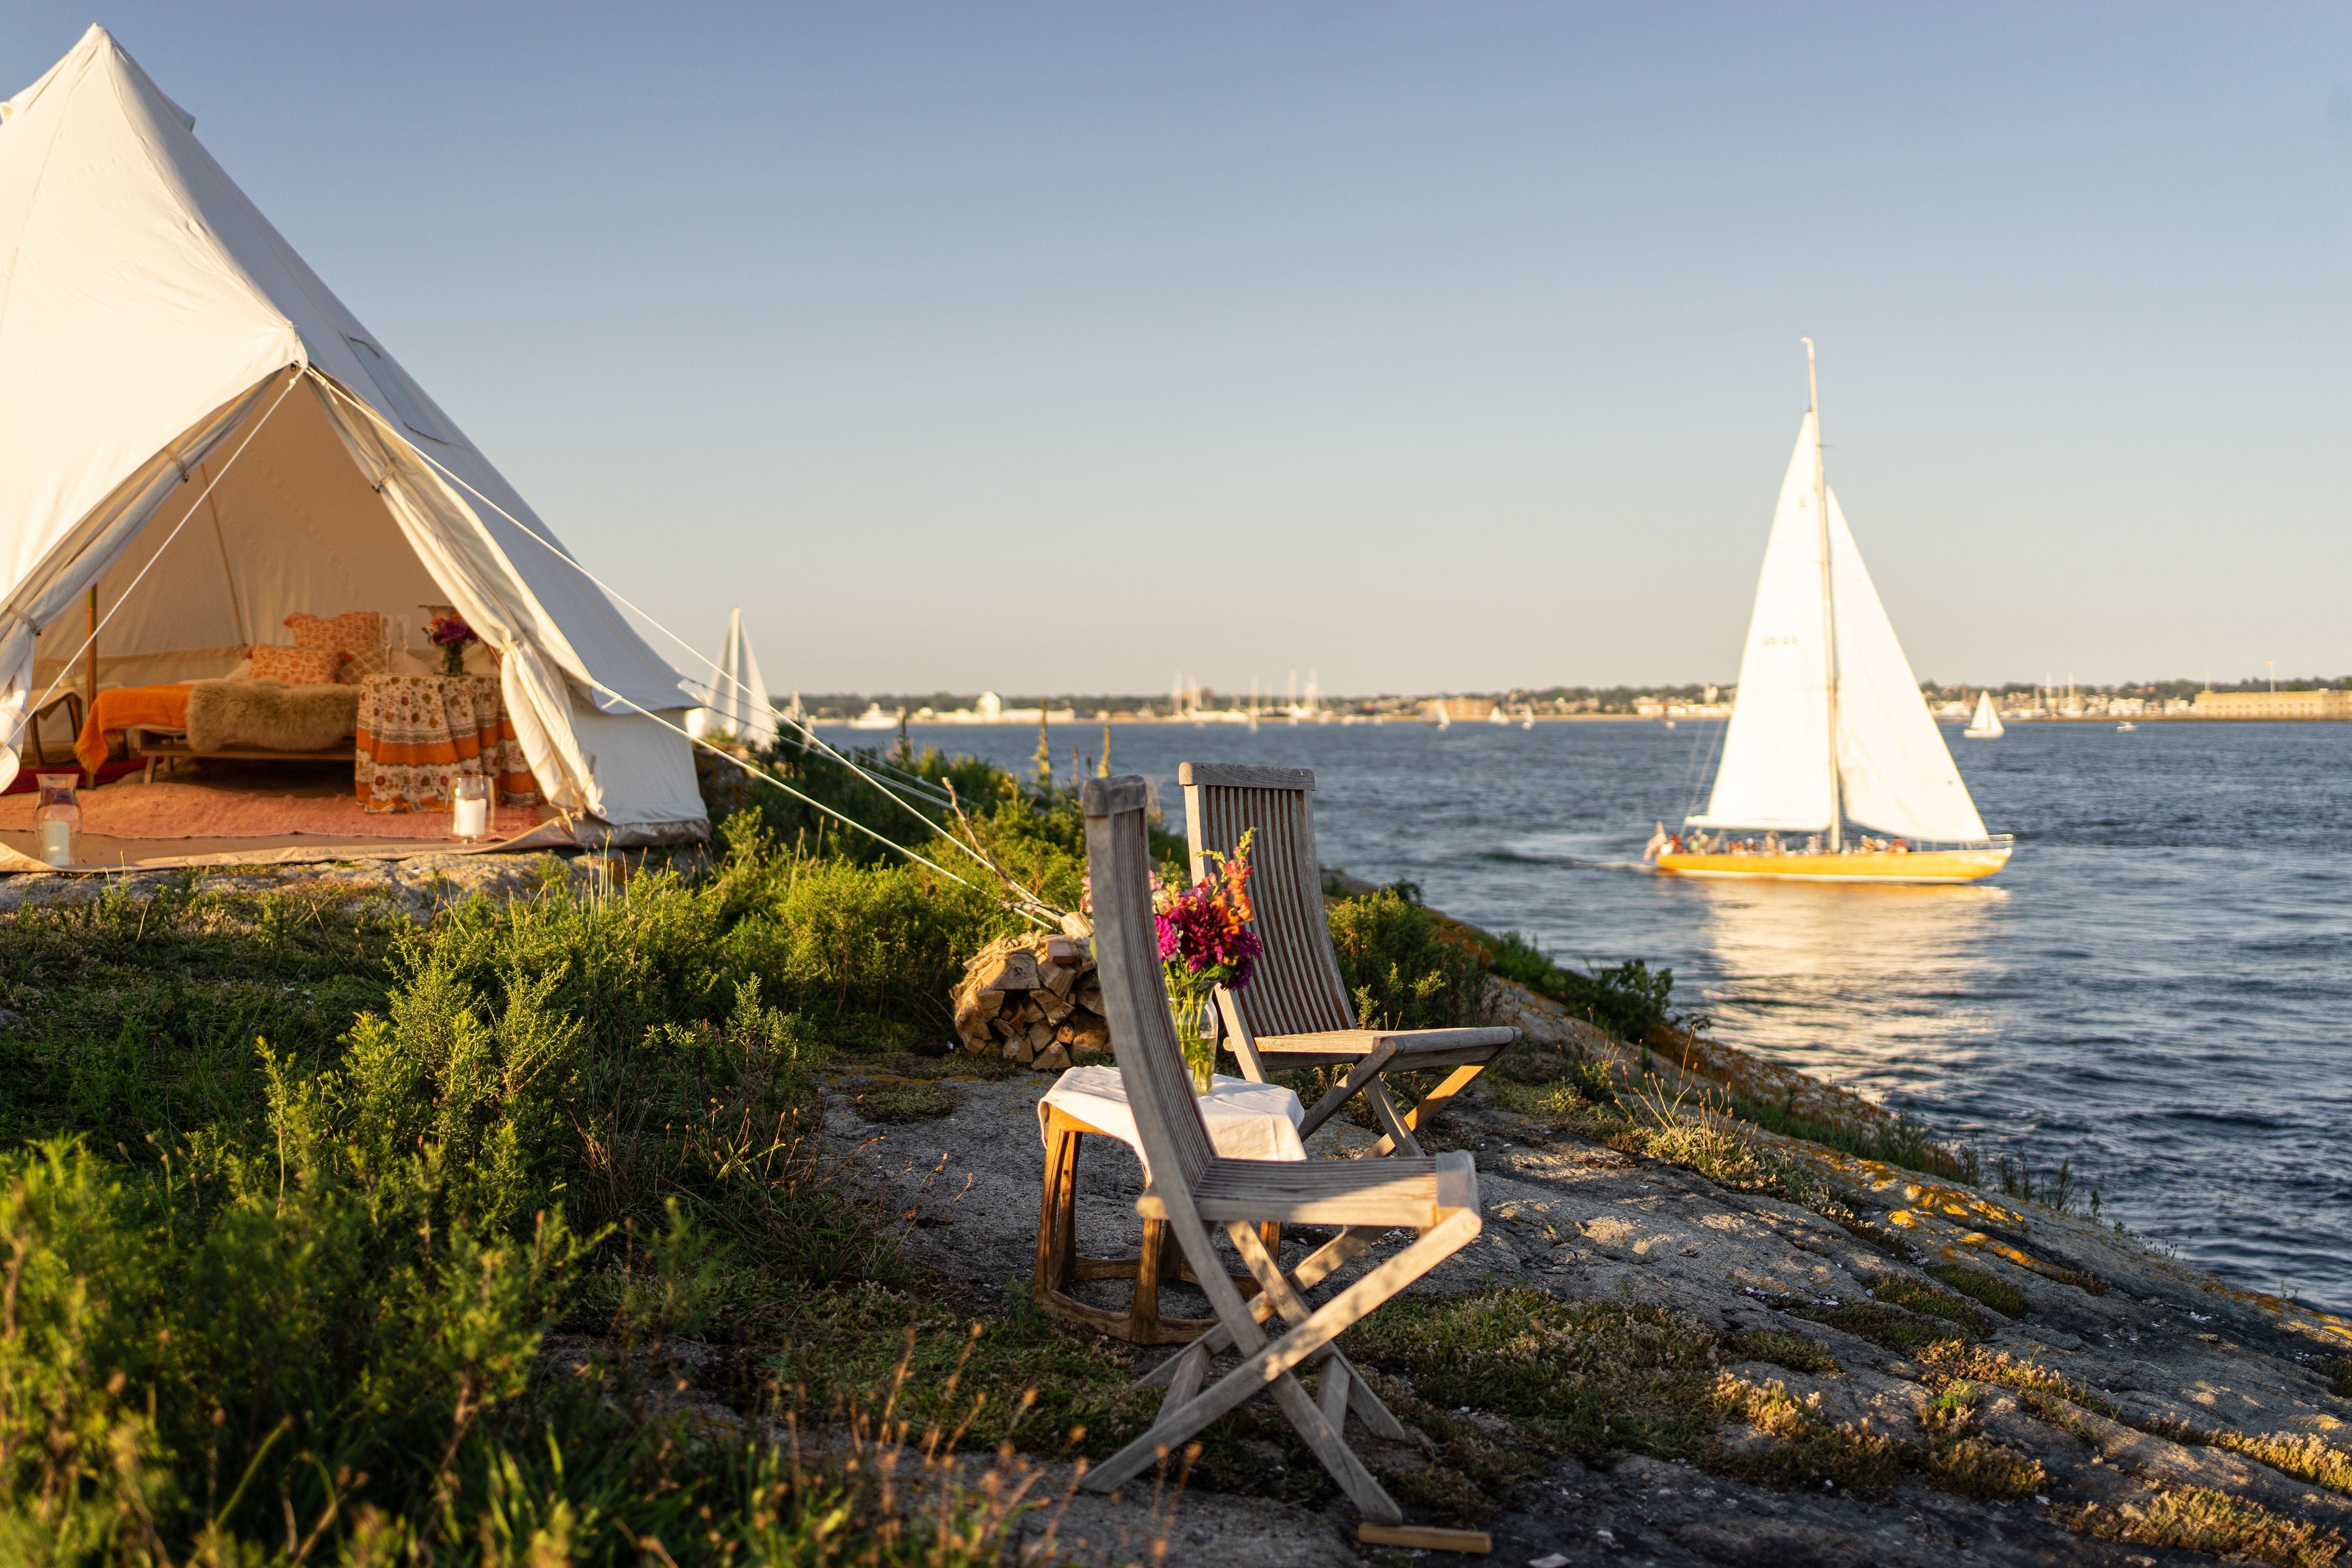
Planning a glamping business? Get our expert-approved checklist covering everything from site selection and regulatory prep to professional-grade gear and operational maintenance. Learn the steps t...
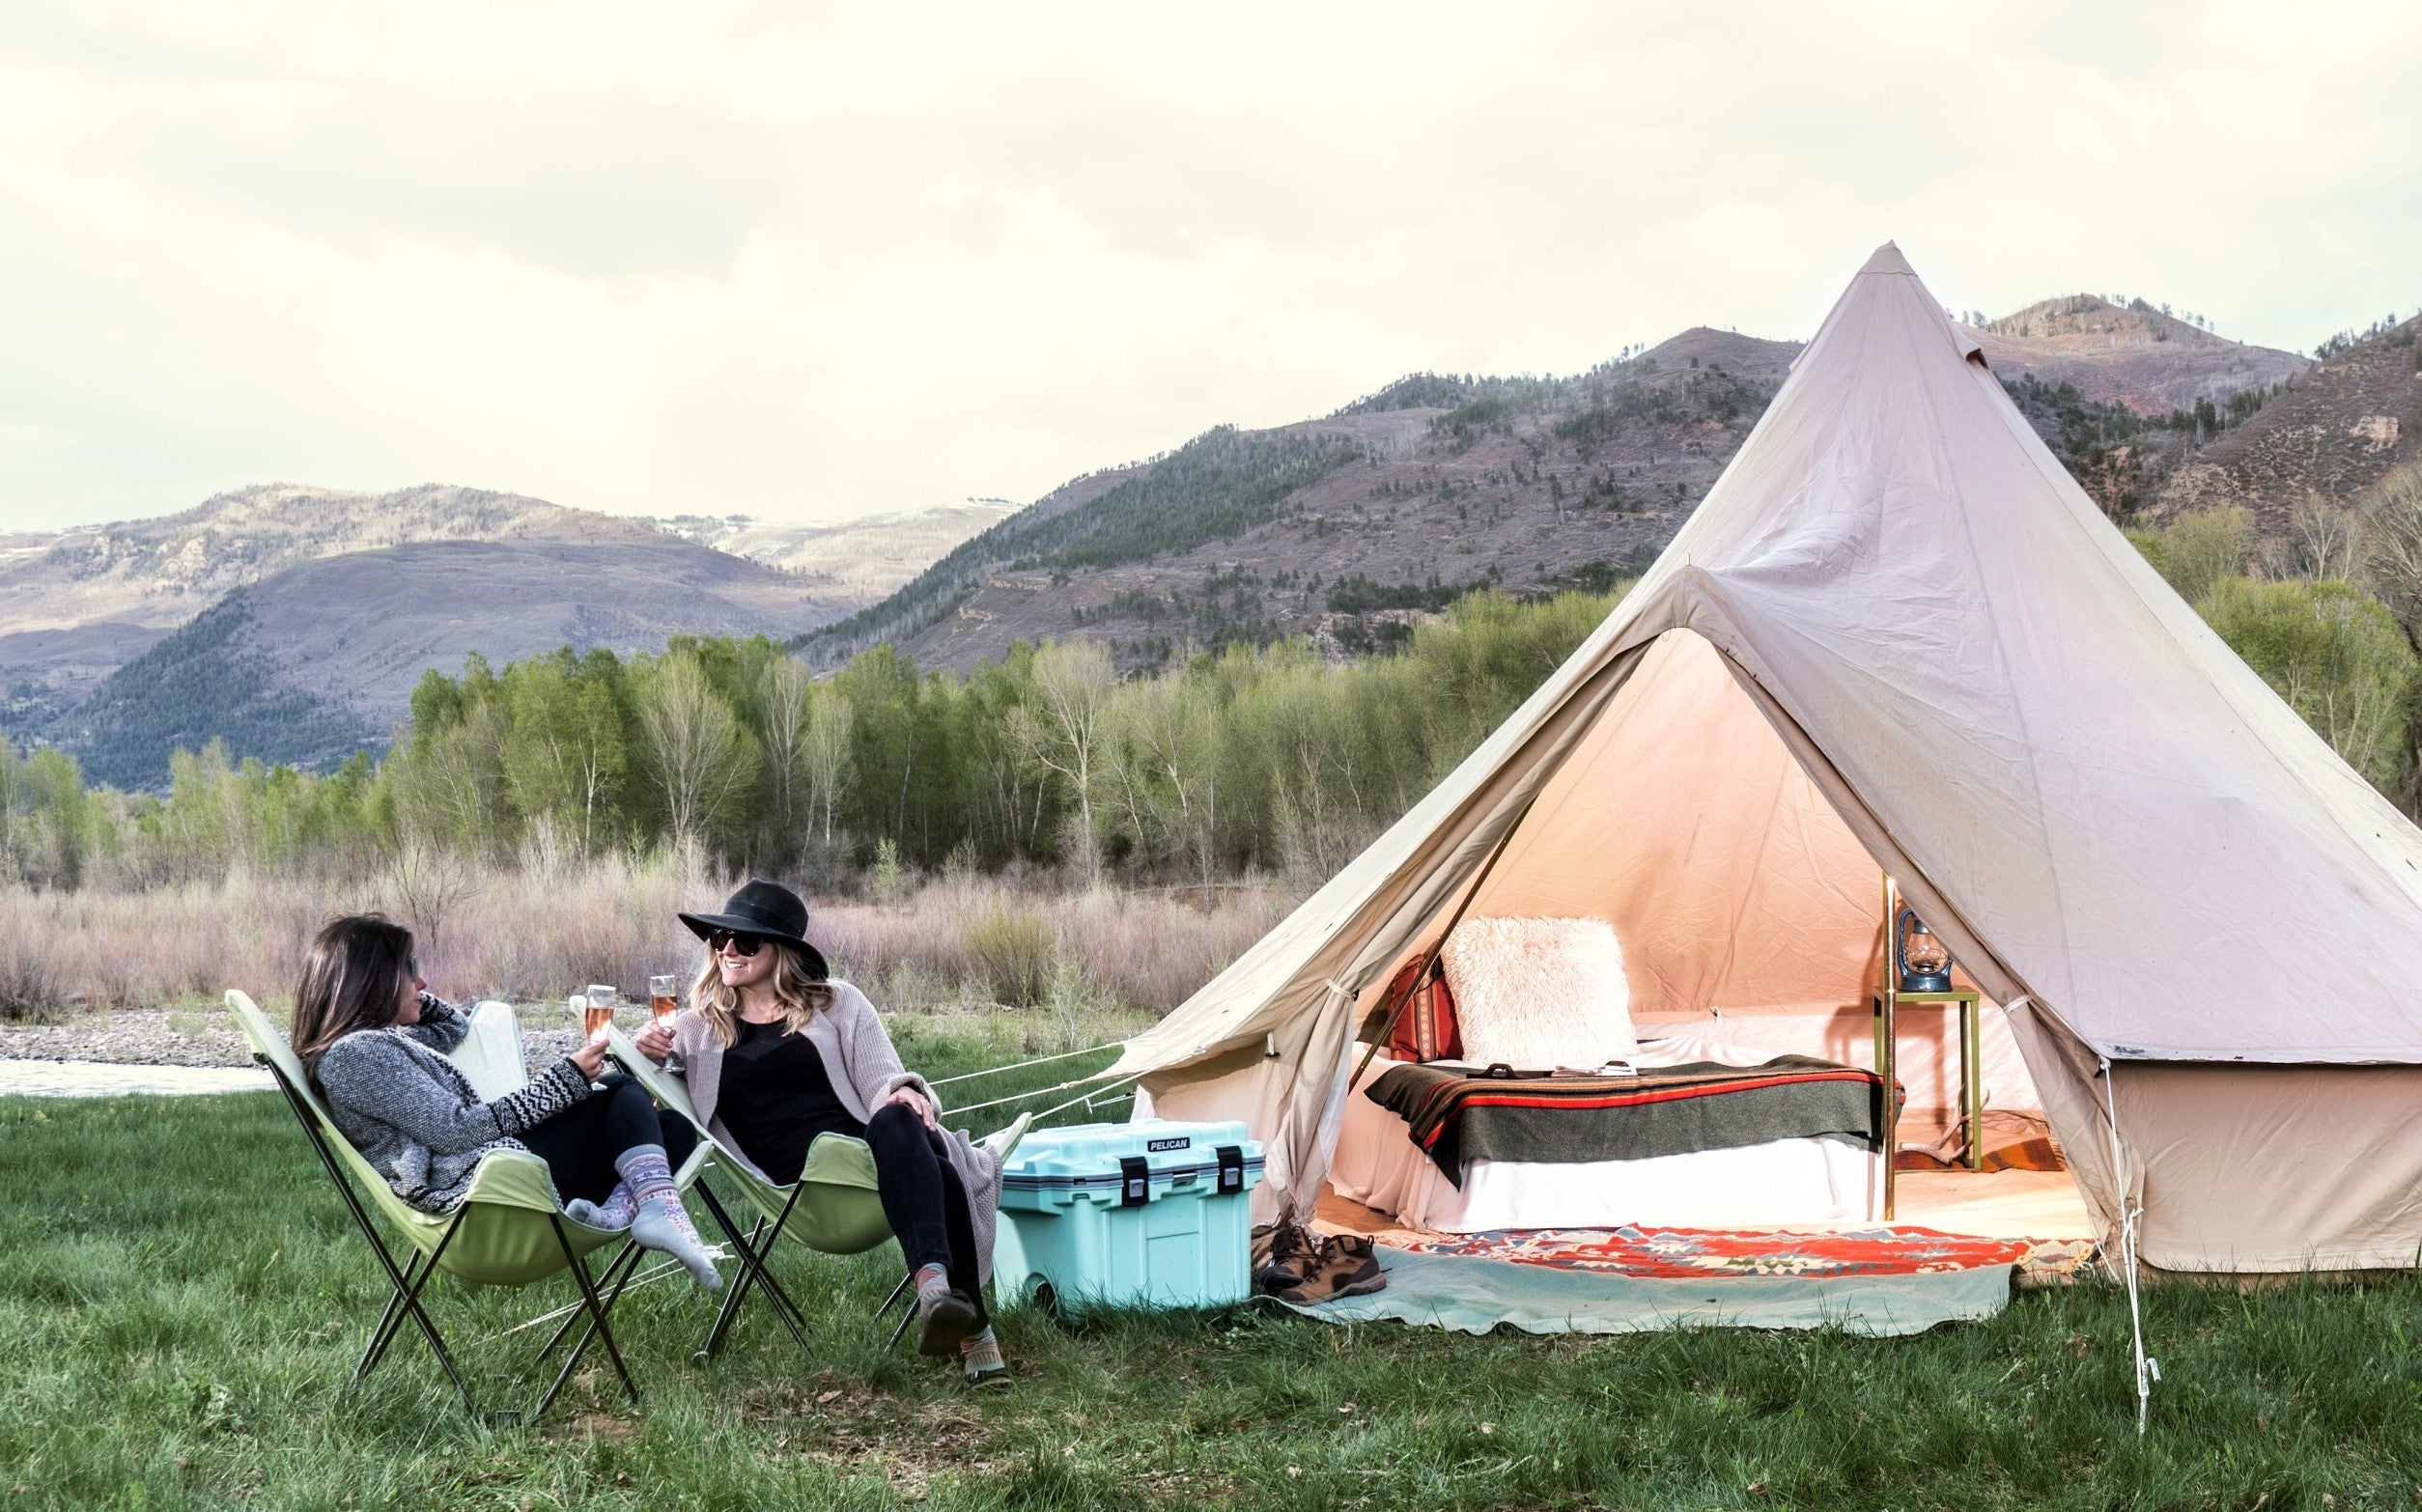
Planning an outdoor event in Council Bluffs? From the scenic Loess Hills to private property gatherings, learn how to secure the perfect, professional-grade glamping setup for your wedding, retreat...