

How to Set Up a Canvas Bell Tent Awning
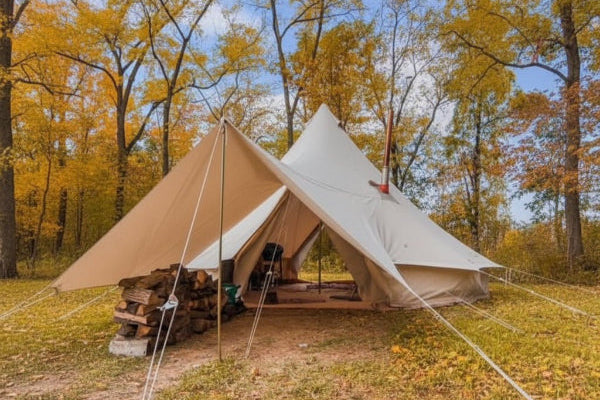
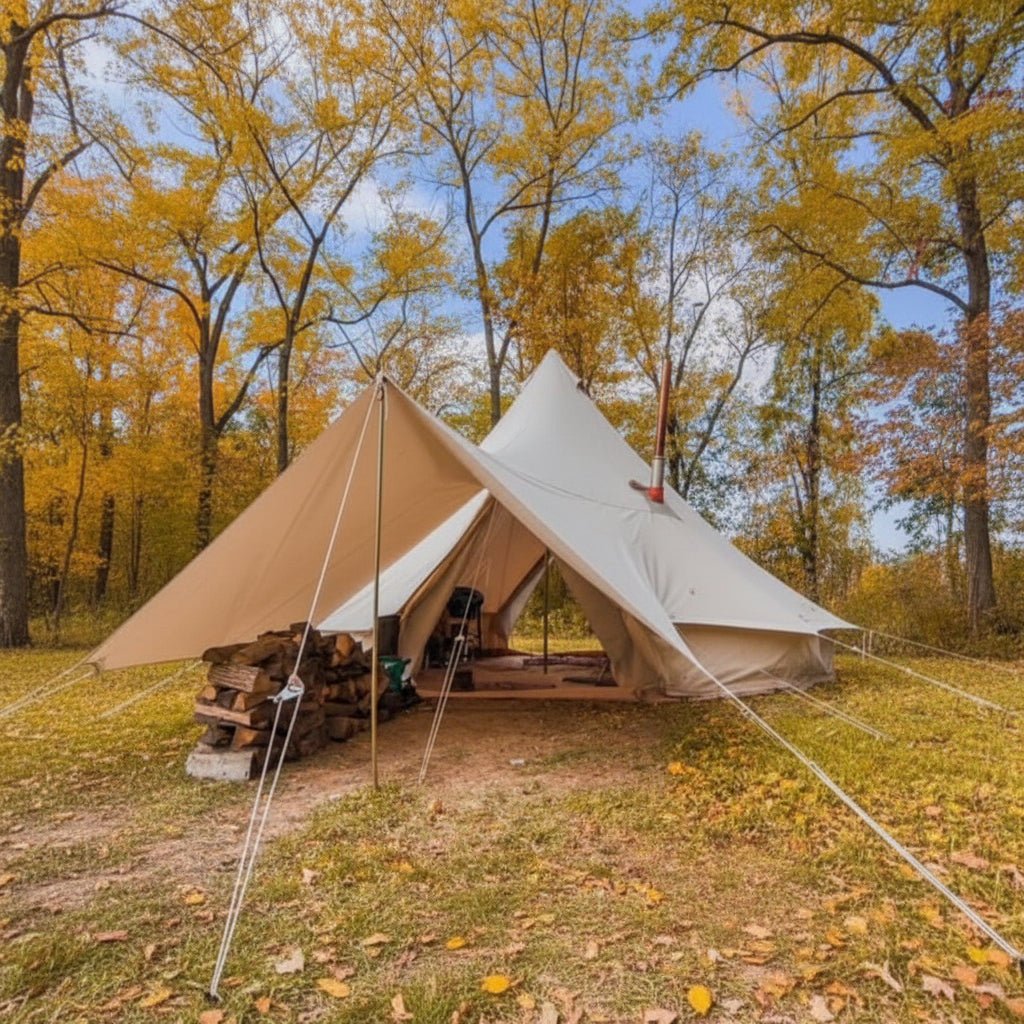
Adding a canvas awning to your glamping setup creates a shaded outdoor porch area, perfect for relaxing outside your canvas bell tent. Whether you are attaching it directly to your bell tent entrance or setting it up independently as a standalone shelter, follow this comprehensive step-by-step guide to get your awning pitched securely.
Prefer to read offline or print out your guide for camp? Download our official Tent Awning Setup Instructions PDF to take with you on your next trip!
What’s Included in the Bag
Before you begin, make sure all components are accounted for:
-
1x Canvas Awning
-
2x Bi-Folded Poles
-
8x Stakes
-
8x Guy Ropes
-
8x Sliders

Step-by-Step Instructions: Attaching to Your Bell Tent
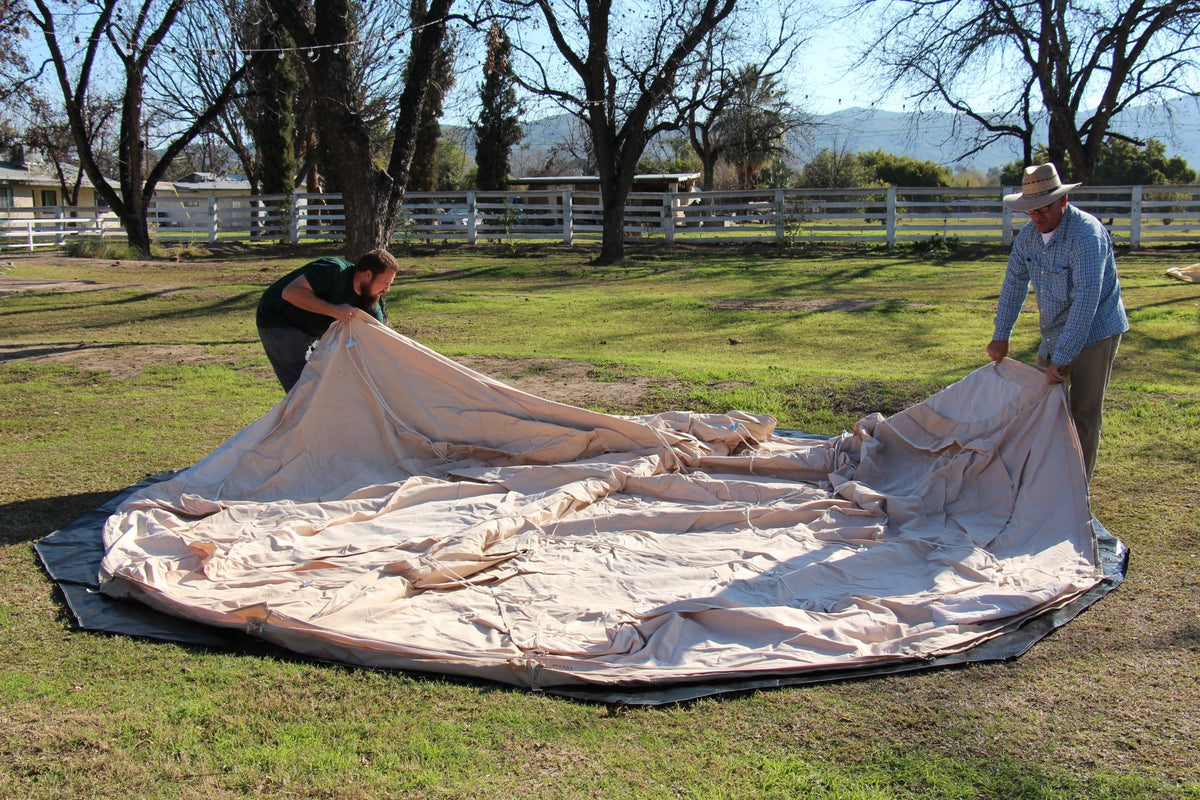
Step 1: Unfold and Position the Awning
Remove your bell tent awning from its canvas storage bag and lay it out flat on the ground. Arrange the fabric so that the attachment point is aligned and ready to slip directly over the A-frame nipple/pin at the entrance of your already-pitched bell tent.
Step 2: Secure the Front Corner Guy Ropes
Begin by tying two guy ropes into the loops closest to the tent, positioned directly to the left and right of the main A-frame entrance loop. Stake these guy ropes back securely behind the two front guy ropes of your existing bell tent for maximum structural stability.
Step 3: Raise the Main Awning Pole
Tie a guy rope to the outer loop directly opposite the A-frame entrance loop where your main vertical pole will stand.
-
First, stake out this front guy line into the ground.
-
Next, insert the bi-folded pole upright through the center grommet.
-
Adjust the tension sliders on the guy rope until the pole stands firmly upright.
Step 4: Tension and Secure Remaining Guy Ropes
Now that your awning structure is stable, tie your remaining guy ropes onto the rest of the canvas loops. Stake them into the ground and adjust the metal sliders evenly around the entire perimeter to remove slack and ensure a taut, weather-resistant pitch.
Alternative: How to Set Up Independently
If you prefer to use your awning as a standalone shade shelter away from your bell tent, follow the core instructions above with one minor adjustment:
-
Instead of sliding the awning onto the bell tent A-frame, attach the awning to a secondary A-frame using a second pole.
We recommend having a second person help hold the pole steady while you stake out the initial guy lines to keep the structure balanced.
Next Steps
Pitching your canvas bell tent awning is a quick and straightforward way to upgrade your outdoor living space, adding weather protection and a comfortable shaded porch. By taking your time to stake out your guy lines properly, you ensure a sturdy, taut setup that stands strong against the elements.
Ready to get started? Watch the quick Canvas Awning Video for a visual walkthrough, and check out our full collection of Stout Tent Bell Tents and Accessories to complete your ultimate glamping setup!
Read more

Learn how to set up your curved/round awning in minutes. Watch our video guide, follow step-by-step assembly instructions, and expand your canvas campsite!
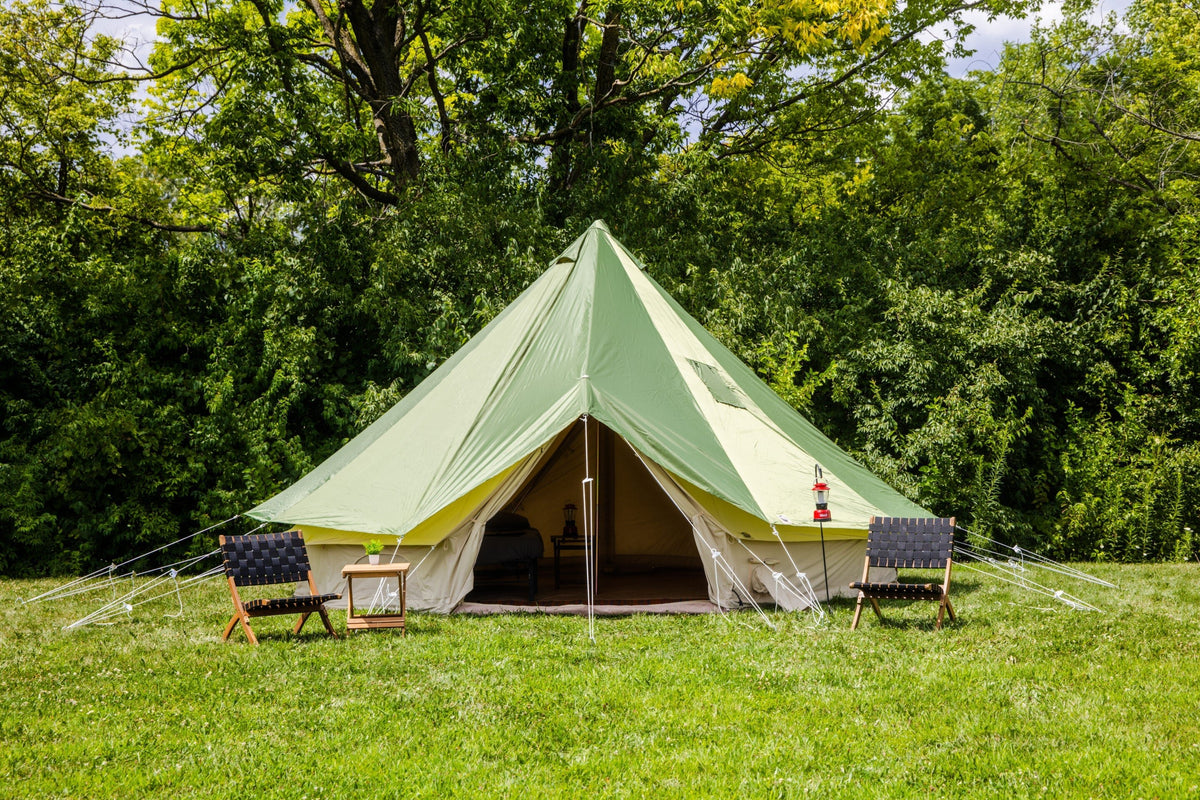
Need to keep your tent dry and protected? Learn how to properly set up a rain fly to shield your canvas shelter from rain, wind, and harsh weather conditions.