
How to Build a Tent Platform: Your Comprehensive Guide
Quick Build Guide
-
Design selection — Choose between permanent (glamping sites) or portable (weekend camping) frameworks.
-
Material sourcing — Invest in pressure-treated lumber, cedar, or composite decking alongside galvanized fasteners.
-
Site preparation — Clear, level the ground, and establish robust drainage or concrete footings below the frost line.
-
Framing & Joists — Install perimeter beams and space joists 16 inches on center.
-
Decking installation — Secure boards with a 1/8-inch to 1/4-inch drainage gap using galvanized screws.
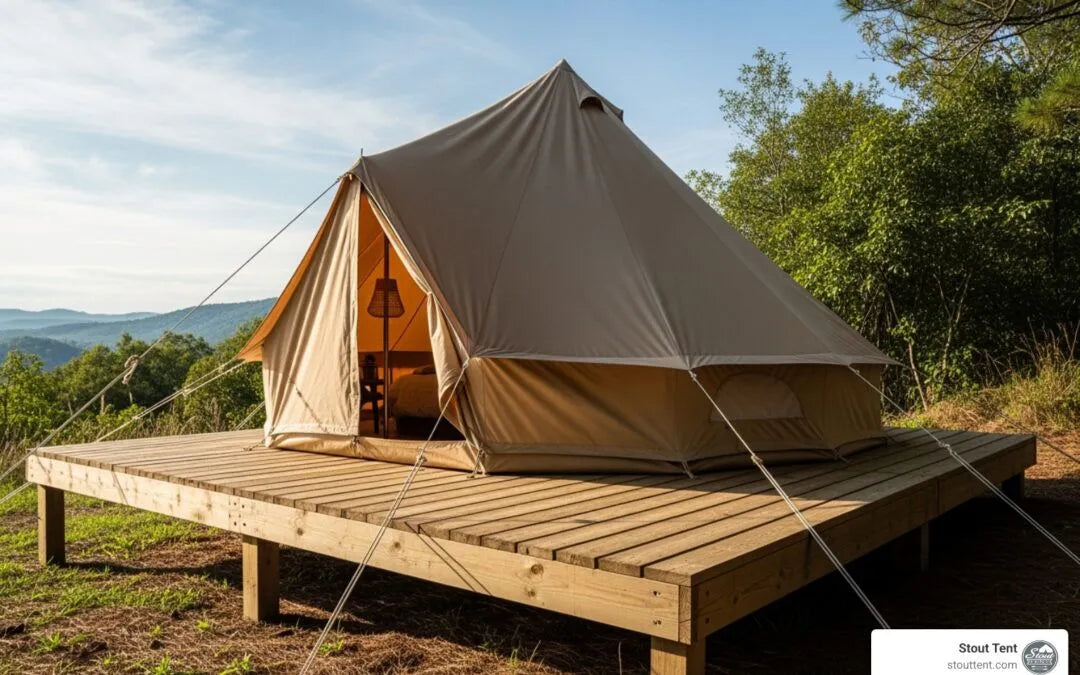
At Stout Tent, we’ve spent years supplying gear and managing large-scale setups across diverse environments. Drawing from hands-on construction and site development experience, we know that elevating your shelter changes the economics of your tent fleet. A raised deck lifts your canvas bell tent away from ground moisture, deters pests, improves airflow to prevent mold, and provides a stable surface that extends tent life significantly.
Planning Your Tent Platform: Design, Materials, and Costs
Building a DIY tent platform for your canvas bell tent requires careful planning. Making smart decisions on design, materials, and budget at the start saves headaches and money over time.
Choosing the Right Design: Permanent vs. Portable
Your first decision is whether you need a permanent or portable platform based on how you plan to use your shelter:
-
Permanent Platforms: Ideal for dedicated glamping sites, family campgrounds, or harsh weather areas. These sturdy structures offer rock-solid stability, year-round durability, and maximum tent protection by keeping your shelter consistently elevated and dry.
-
Portable Platforms: Built for campers who explore different locations. A modular, portable design gives you the freedom to bring platform comfort anywhere, often fitting easily into a vehicle trunk for fast setup.
Planning Your Tent Platform: Design, Materials, and Costs
Building a diy tent platform for your canvas bell tent requires careful planning. Making smart decisions on design, materials, and budget at the start will save you headaches and money later on.
Here is how permanent and portable platform options compare for your site:
| Feature | Permanent Platform | Portable Platform |
|---|---|---|
| Pros | Rock-solid stability, maximum tent protection, year-round durability, improved aesthetics | Ultimate flexibility, easy transport, adapts to any location, quick setup |
| Cons | Higher upfront cost, significant labor investment, can't move it | Less robust than permanent, requires setup each time |
| Best For | Glamping sites, dedicated camping spots, harsh weather areas, long-term setups | Weekend warriors, location variety, temporary events, exploring new areas |
| Materials | Heavy-duty pressure-treated lumber, concrete footings, premium decking | Lighter lumber, aluminum components, modular connectors, hinged designs |
Essential Materials and Tools
Quality materials ensure your platform matches the durability of your canvas bell tent:
-
Lumber & Decking: Pressure-treated lumber (like 2x6 joists and 4x4 posts) resists rot and insects. Premium cedar offers natural weather resistance, while composite decking requires zero staining and prevents splintering—making it an exceptional choice for high-end glamping operations.
-
Fasteners: Always use galvanized screws and stainless steel hardware to prevent rust, supported by joist hangers and post-top connectors.
-
Foundations: Concrete footings provide maximum stability for permanent structures, while deck blocks work well for slightly uneven ground without heavy excavation. Gravel pads offer an excellent, low-cost drainage alternative.
The Ultimate DIY Tent Platform Build: Step-by-Step
Step 1: Site Preparation and Foundation
Choose a level location with natural drainage. Clear debris, mark your perimeter with stakes and string to ensure the layout is square, and call 811 before digging post holes to avoid underground utilities. Pour concrete footings or set posts deep enough to clear local frost lines, ensuring everything is plumb and level before setting.
Step 2: Building the Frame and Joists
Attach perimeter beams securely to your posts using galvanized screws. For larger builds, install a center beam for added load distribution. Space your joists 16 inches apart on center using joist hangers to create a rigid grid capable of handling the weight of your tent, furnishings, and occupants.
Step 3: Installing the Decking
Lay deck boards across your joists, maintaining a 1/8″ to 1/4″ gap between boards to ensure proper drainage and accommodate natural wood expansion. Drive two galvanized screws through each board into every intersecting joist for a squeak-free surface. Finish by cleaning debris and applying a protective weather-seal stain.
Pitching and Securing Your Bell Tent on a Deck
Setting up on a platform requires a different approach than staking into bare earth:
-
Platform Anchoring: Secure your groundsheet using the D-rings at each corner. Instead of tent stakes, thread heavy-duty screw hooks directly into your decking, or use bolts and washers drilled through the platform with a nut underneath to distribute the load and prevent fabric tears.
-
Guyline Management: Platform elevation alters guyline geometry. To maintain proper tension and wind resistance without stressing seams, install dedicated guyline anchor posts (2–3 feet tall) around your platform's perimeter to keep lines at the correct angle and eliminate tripping hazards.
Got Questions About Your Platform or Setup?
Whether you are planning a multi-site glamping resort or building your first backyard platform, every terrain brings unique challenges. If you need advice on platform dimensions, deck anchoring, or tent compatibility, reach out to our team. We are always here to help you protect your investment.
Read more
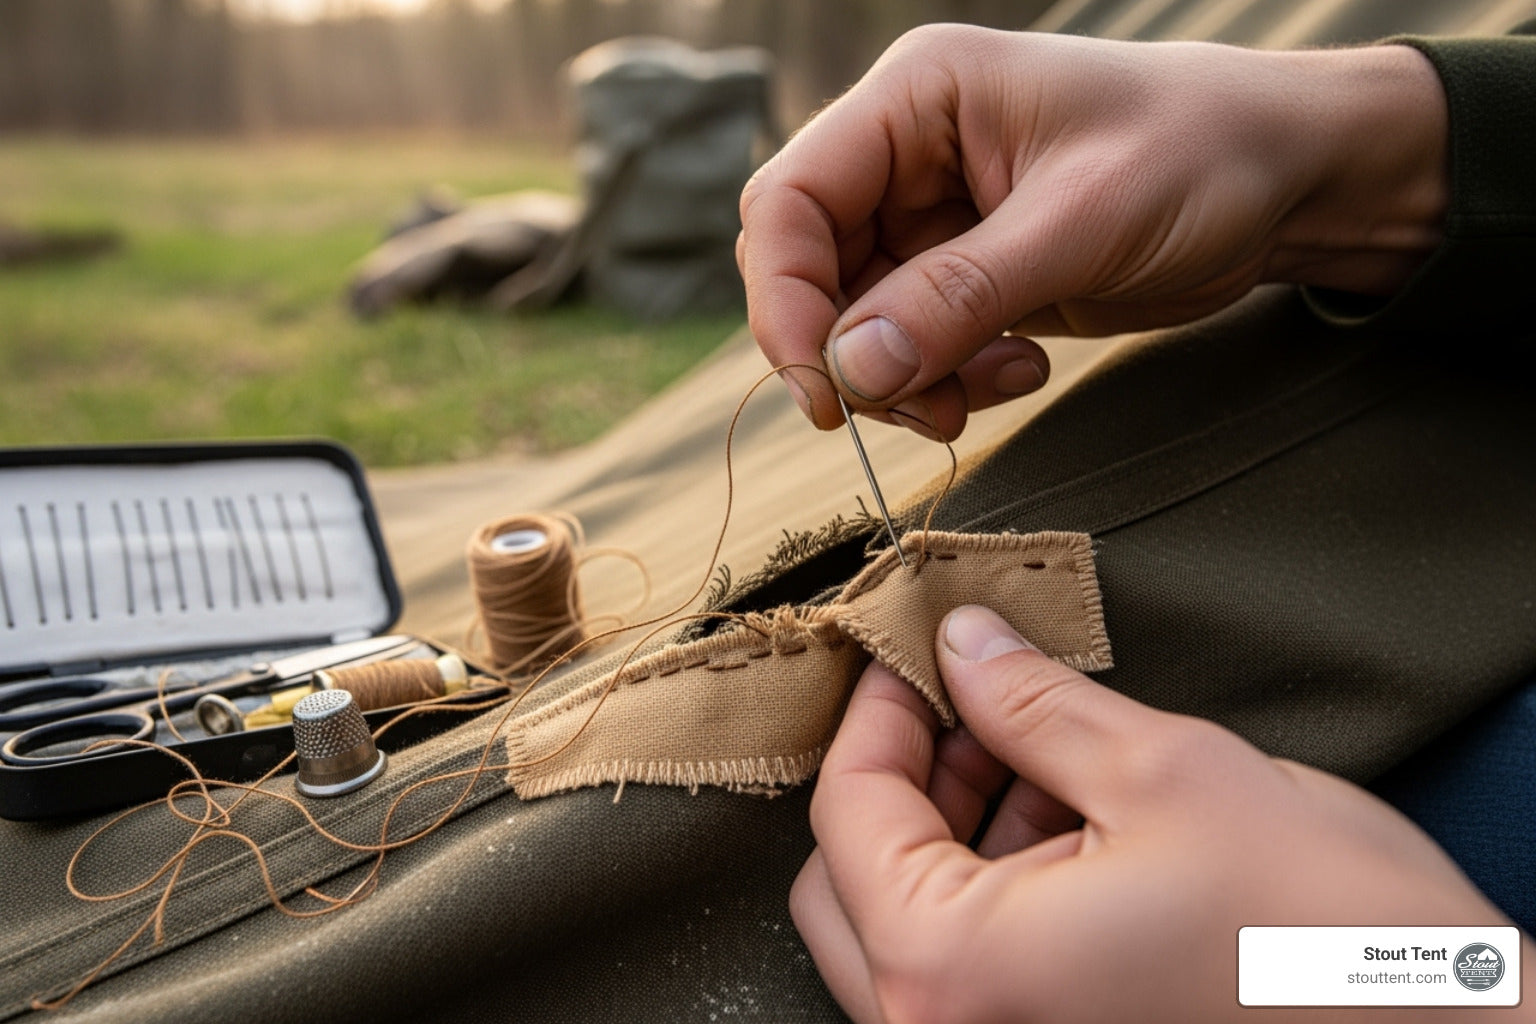
Master canvas and tent repairs. Learn professional damage assessment, essential field repair kits, patching techniques, and preventative care to maximize your tent's lifespan and ROI.
How to Clean Mold From A Canvas Tent We get so many requests for how to clean mold from a canvas tent that we've decided to share our secrets with you. However, we cannot stress enough that the bes...