


How to Setup a Canvas Bell Tent from Stout Tent
How to Set Up Your Canvas Bell Tent: The Ultimate Step-by-Step Guide
People don't seem to believe us when we tell them just how easy it actually is to set up one of our tents! So, we've put together a 5-minute video outlining the simple steps in how to set up a canvas bell tent. Now you can watch and see for yourself just how easy it is! And, if your tent is on the way or, better yet, just arrived, this step-by-step guide will help you feel at ease setting it up the first time.
Prefer to read offline or print out your guide for camp? Download our official Bell Tent Setup Instructions PDF to take with you on your next trip!
Watch the Setup Guide
We're confident you'll have no issues setting your tent up, especially after watching this video, but if you do, our team is always here to help.
Step-by-Step Bell Tent Setup Instructions
Setting up a bell tents & camping gear shelter is a straightforward process when you follow a clean workflow. Here is how to get your shelter pitched "high and tight" in under 15 minutes:
1. Lay Out the Groundsheet
-
Clear your chosen campsite of any sharp sticks, rocks, or debris.
-
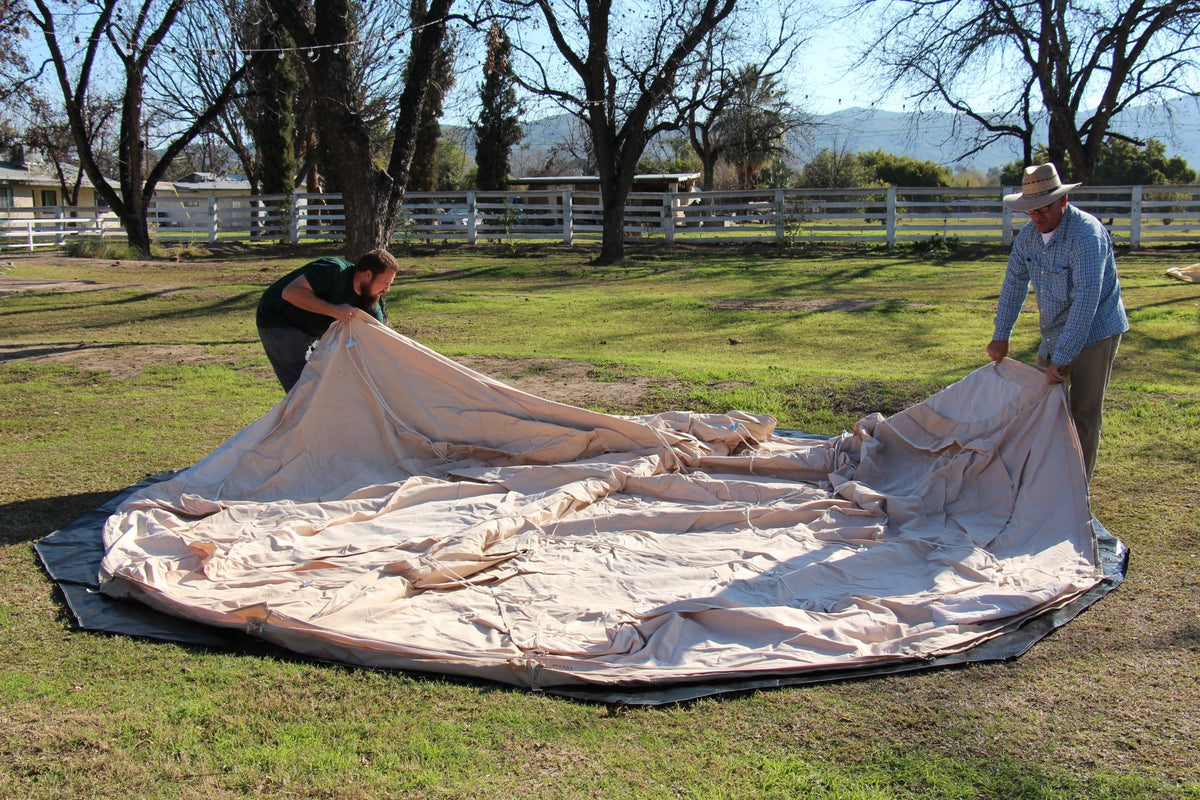
Unroll your tent flat on the ground with the heavy-duty PVC groundsheet facing down.
-
Make sure the door is facing your desired direction before you begin staking.
2. Stake the Perimeter
-
Locate the rubber D-ring loops around the perimeter of the tent base.
-
Pull the canvas taut and drive your stakes through each loop at a 45-degree angle pointing away from the tent.
-
Pro Tip: Don't hammer them completely flush yet, leave a little wiggle room so you can adjust the tension later.
3. Raise the Center Pole
-
Unzip the main door fully to relieve air pressure inside the tent.
-
Assemble your center steel pole. Walk inside the tent, place the rubber-capped base squarely in the center of the floor, and lift the top peak into the center apex of the canvas roof.
-
Push the pole upright until the tent stands on its own.
4. Insert the A-Frame Door Pole
-
Assemble the A-frame pole and feed the pin through the canvas eyelet at the peak of the door awning.
-
Secure the bottom feet of the A-frame into the designated pockets on either side of the doorway.
5. Tension Your Guylines
-
Step outside and adjust the wooden or metal sliders on your guylines.
-
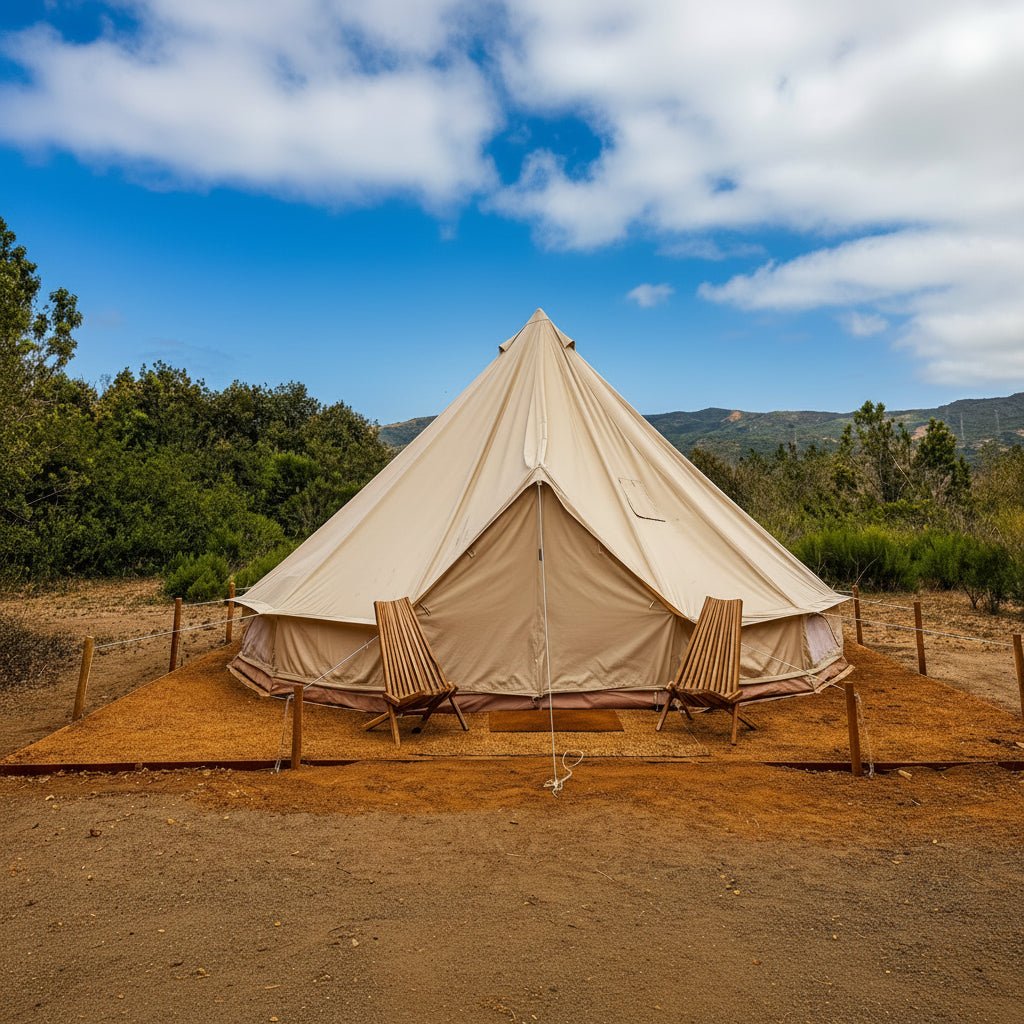
Pull each line outward to create balanced, outward pressure. This creates the classic bell shape, ensures proper water runoff (as outlined in our guide on canvas tent waterproofing and leak prevention), and prevents sagging.
FAQ: Common Setup Questions
-
How many people does it take to set up a bell tent? While our tents can easily be pitched solo by an experienced camper, having two people makes the process lightning fast—usually taking about 10 to 15 minutes total!
-
What if the ground is too rocky for standard stakes? If you're camping on hard-packed soil, desert terrain, or rocky festival grounds, standard stakes won't cut it. We recommend swapping them out for heavy-duty rebar stakes or specialized spiral ground anchors.
Next Steps
Setting up your shelter shouldn't feel like a chore. With the right technique, pitching your canvas home away from home is simple, satisfying, and sets the stage for an incredible outdoor adventure.
Ready to upgrade your camp setup or explore our lineup? Browse our collection of premium bell tents & camping gear and check out our must-have bell tent accessories and flooring to customize your space today!