

The Ultimate Guide to Canvas Tent Waterproofing, Seasoning, and Preventing Leaks
The Ultimate Guide to Canvas Tent Waterproofing, Seasoning, and Preventing Leaks
At Stout Tent, we understand that nothing ruins a camping trip faster than damp gear. We make our tents with high-quality canvas because it is naturally breathable and incredibly durable. That said, in order to protect the integrity of your canvas, it is important to understand how this fabric interacts with moisture.
Whether you’re curious about “seasoning,” wondering how to handle a minor leak, or looking for long-term maintenance tips, this guide provides the expert answers you need to keep your tent in peak condition.
Understanding Canvas: Does My Tent Need "Seasoning"?
What is seasoning? Often, customers ask if they need to "season" or "weather" their new canvas tent. In simple terms, seasoning is the process of making a canvas tent waterproof. When canvas is sewn, the needle creates tiny holes larger than the thread itself. When the canvas gets wet, the fibers swell, effectively filling those tiny gaps and creating a watertight seal.
Do I need to season my Stout Tent? The short answer is no. We sew our tents using the smallest gauge needle possible and extra-thick thread to prevent leaks from the start.
Are there exceptions? Yes. If you own or plan to purchase a Stargazer model or our Overland Sunforger tent, we do recommend seasoning it before your first camping trip. The Stargazer tent comes with transparent PVC panels in the roof that require a heavier-gauge needle when sewn. Similarly, the Sunforger tent is made from Army Duck Sunforger canvas that is naturally thicker than other canvases and is also sewn using a larger needle. Once the canvas has been seasoned, this will no longer be an issue.
Here's how to season your canvas bell tent the right way:
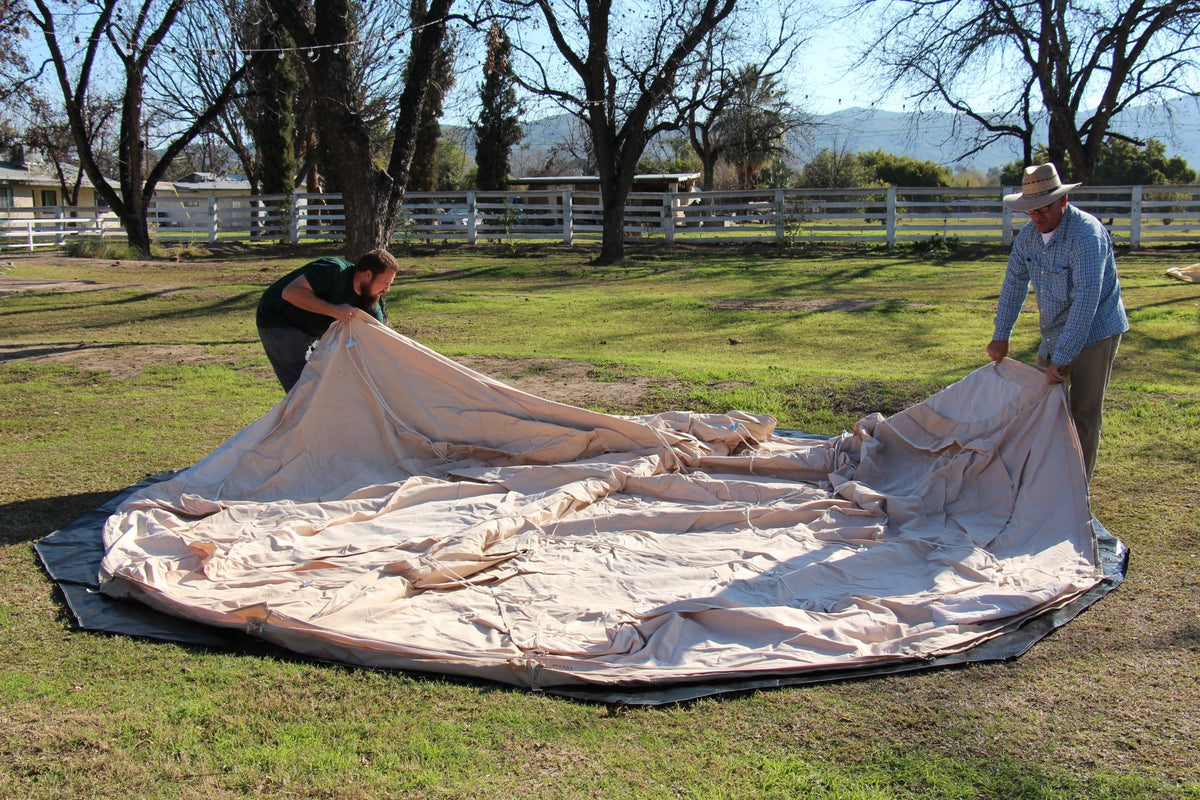
- Pitch your tent completely in a sunny, open area with all guy lines tight and the fabric taut. This tension helps the canvas settle into its proper shape.
- Next, use a garden hose to thoroughly soak the tent's exterior with cold water. Work from the peak down, focusing on seams and stress points to ensure every fiber is saturated. While wet, check inside for pinpricks of light. These spots indicate where the weave will tighten. Seeing a few is normal and what the seasoning process corrects.
- Let the tent dry completely—bone dry. This can take a full day in the sun or up to two in humid weather. During this drying phase, the cotton fibers contract and tighten the weave.
Troubleshooting Canvas Bell Tent Leaks: A Proactive Checklist
If you notice moisture inside your tent, don't panic. We haven’t met a leak we couldn't fix with these simple setup adjustments:
-
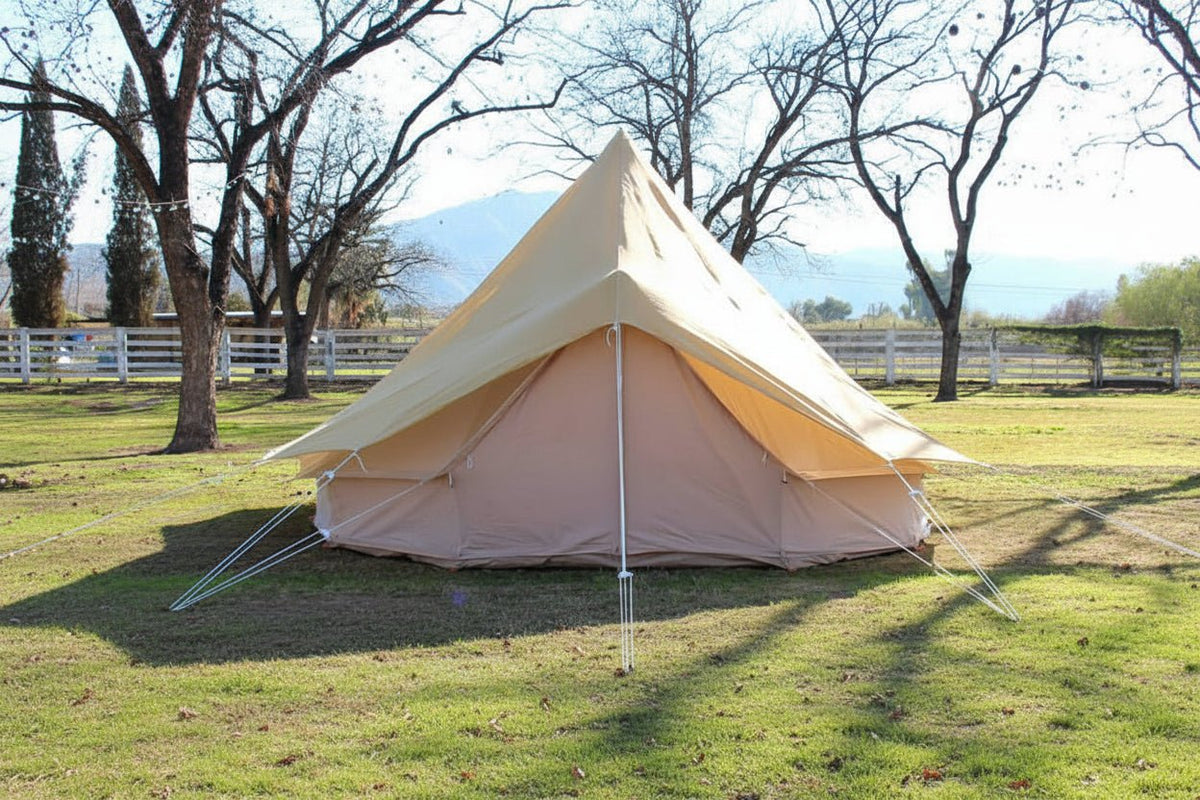
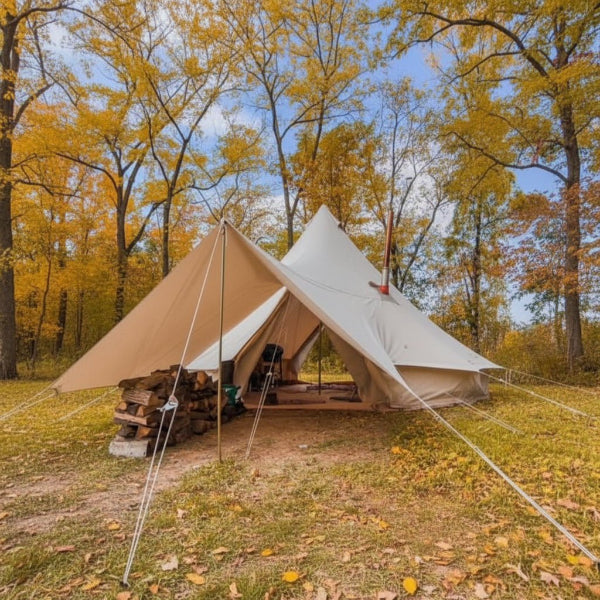
Check Your Roof Coverage: Ensure your roof is properly extending over the side-walls. If it isn't, tighten your guylines so that your sidewalls sit "high and tight". When your guylines are properly tightened, the canvas roof flap where you attach your guylines will protrude out about 4 inches from your tent. This creates outward AND downward pressure that allows rain water to run off the tent roof.
To see this principle in action, check out this quick walkthrough from one of our customers demonstrating exactly how proper tension keeps a tent completely bone dry during heavy rain:
-
Create the "Tub" Effect: Your groundsheet zipper, where it connects to the tent, should sit about 4 inches above the ground. This creates a "bath tub" effect that prevents water from pooling at the base and seeping in through the zipper lines.
-
Cover Your Zippers: Moisture can sometimes wick through zippers if they aren't protected. Always ensure the canvas flaps are pulled down and secured over both groundsheet and door zippers.

-
Inspect Window Zippers: Ensure your window zippers meet securely at the very top of the flap to prevent any gaps.
If you are still having trouble tracking down a leak, conduct a quick water test.
- First, ensure your tent is completely empty to protect your gear.
- Set up the tent fully, then pour water directly onto the roof using a garden hose or watering can. This controlled test will help you pinpoint the exact source of the leak so you can troubleshoot and resolve it quickly.
How do I fix a puncture or hole?
If you conduct a water test and find that a small rip or tear in your canvas is the culprint, use a patch kit to repair the canvas. For holes or tears in the groundsheet, we recommend using a nylon repair tape like Gear Aid.
How do I re-waterproof my canvas tent?
While most canvas tents only need to be reproofed every few years, intense UV exposure can degrade the waterproofing over time. Tents in long-term setups, especially in high-UV environments, will need to be reproofed more often. Look at how patio furniture cushions hold up in your climate to get an idea of how your tent will perform. If your guylines start to fray that is an indicator that it is time to reproof.
- Ensure your tent is fully set up.
- Pour the treatment into a clean pesticide sprayer. We recommend 303 Fabric Guard, but any fabric guard will work. Use 1 to 2 gallons total for a 4M to 5M tent. Aim to thoroughly saturate the canvas; if you are in a hot, dry climate where it evaporates quickly, use closer to the full 2 gallons.
- Pump the sprayer and apply an even coat all over the outside of the tent. Let the treatment dry completely.
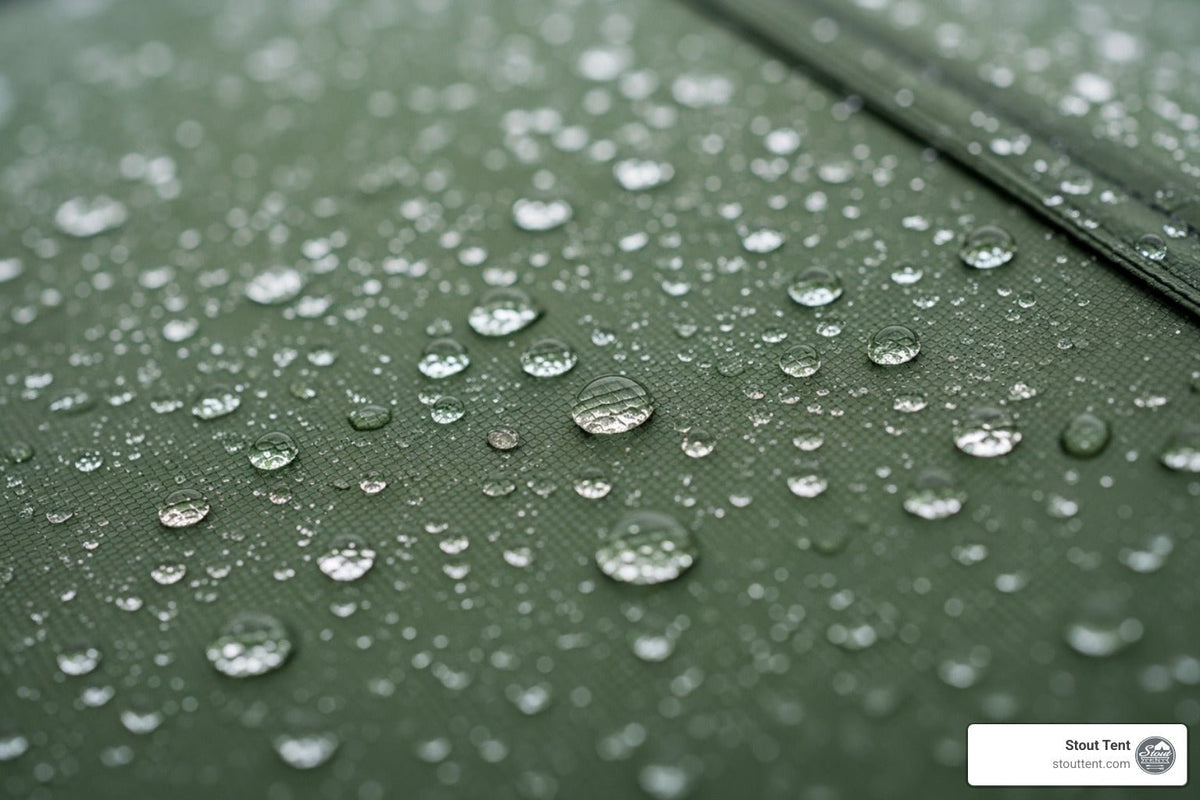
- Test the canvas with a garden hose to make sure water beads up everywhere and you haven't missed any spots.
Repair and Long-Term Maintenance
Even the most durable canvas tents can experience wear and tear after years of adventure.
If the damage is significant, please email photos to info@stouttent.com; our team will help diagnose the issue and provide a repair recommendation. For damage requiring complex stitching, we suggest reaching out to a local boat or RV upholstery shop. These professionals have the specialized industrial equipment necessary for large-scale repairs, as they frequently perform similar work on boat sails and RV awnings.
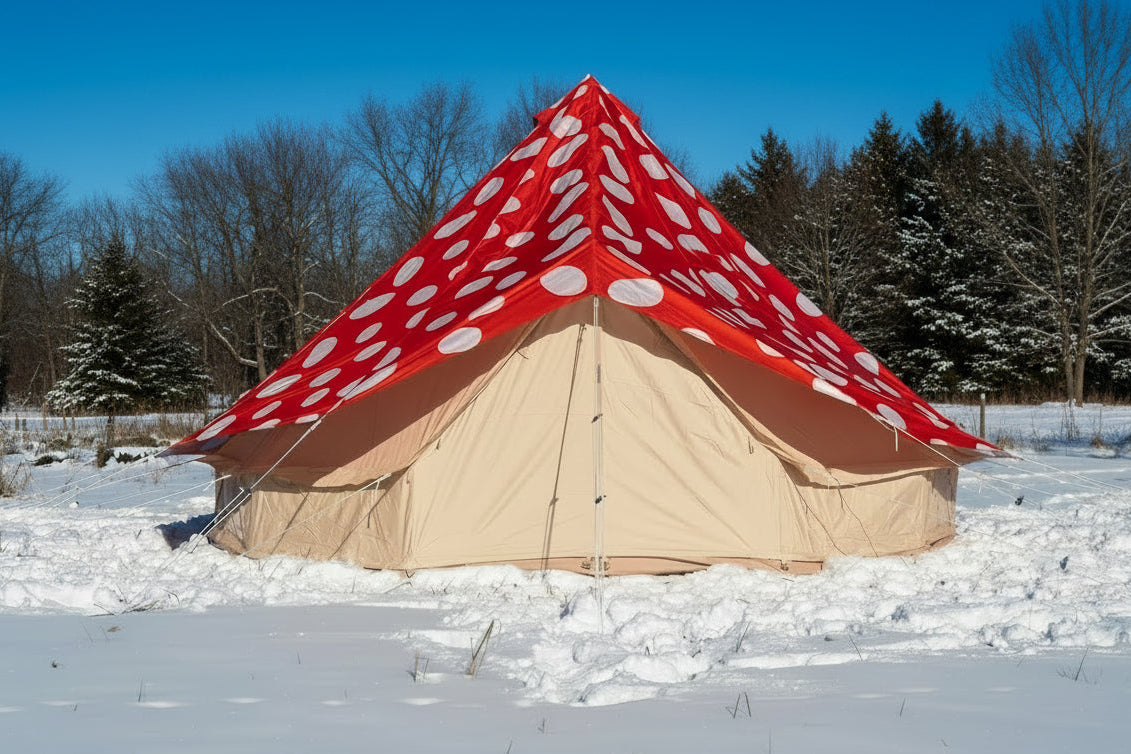
How can I protect my tent from the elements long-term? High UV exposure is the primary cause of fabric degradation over time. If you live in an area with intense sun, consider adding a Sunshade to your setup. This protects the main canvas body from the harshest rays, extending the lifespan of your tent significantly.
Preventative Tip: When setting up, tie your anchor knots lower down on the stakes. This ensures the loop of your guyline stays securely within the stake's "hook," preventing the canvas from sagging and allowing for optimal water runoff.
Still Have Questions?
At Stout Tent, we are committed to helping you maintain your investment. If you are experiencing an issue that this checklist doesn't resolve, or if you need professional repair guidance, our team is always here to assist.
Contact Stout Tent Support to speak with an expert, or browse our shop for high-quality accessories designed to protect your gear for years to come.
Read more
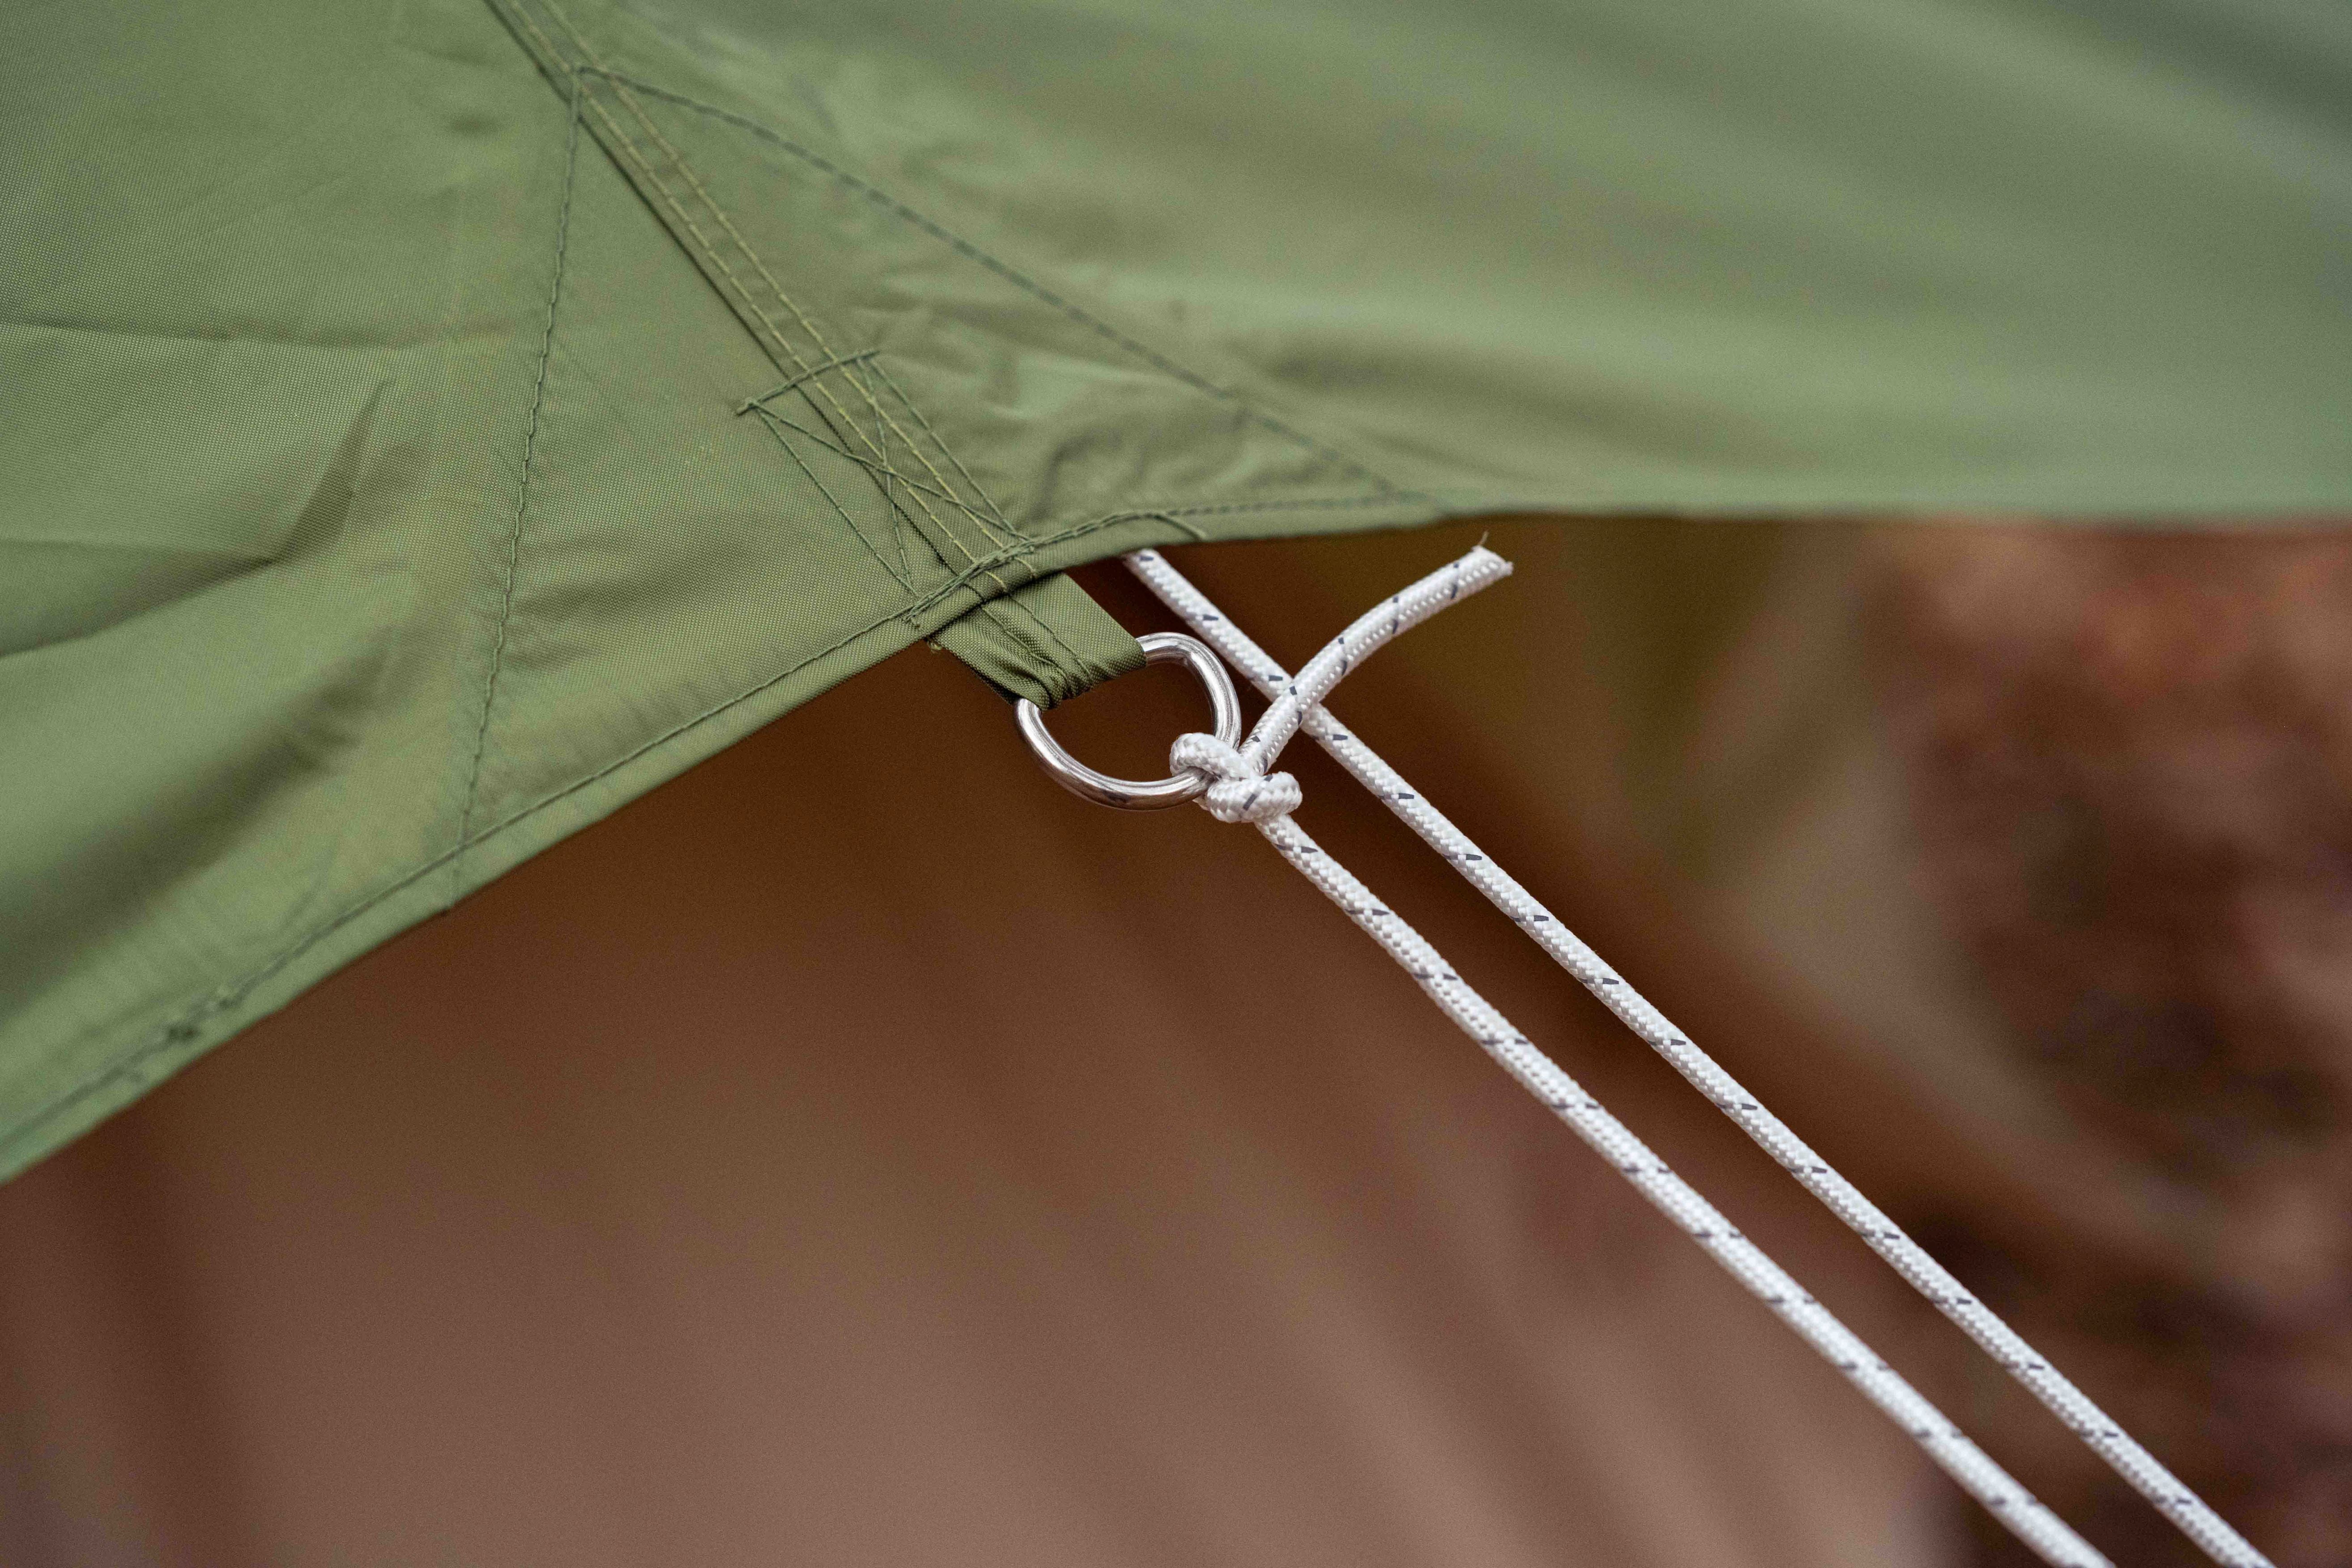
Extend the lifespan of your canvas tent. Learn why adding a footprint and rain fly is the smartest investment for protecting your gear from moisture, UV damage, and wear.
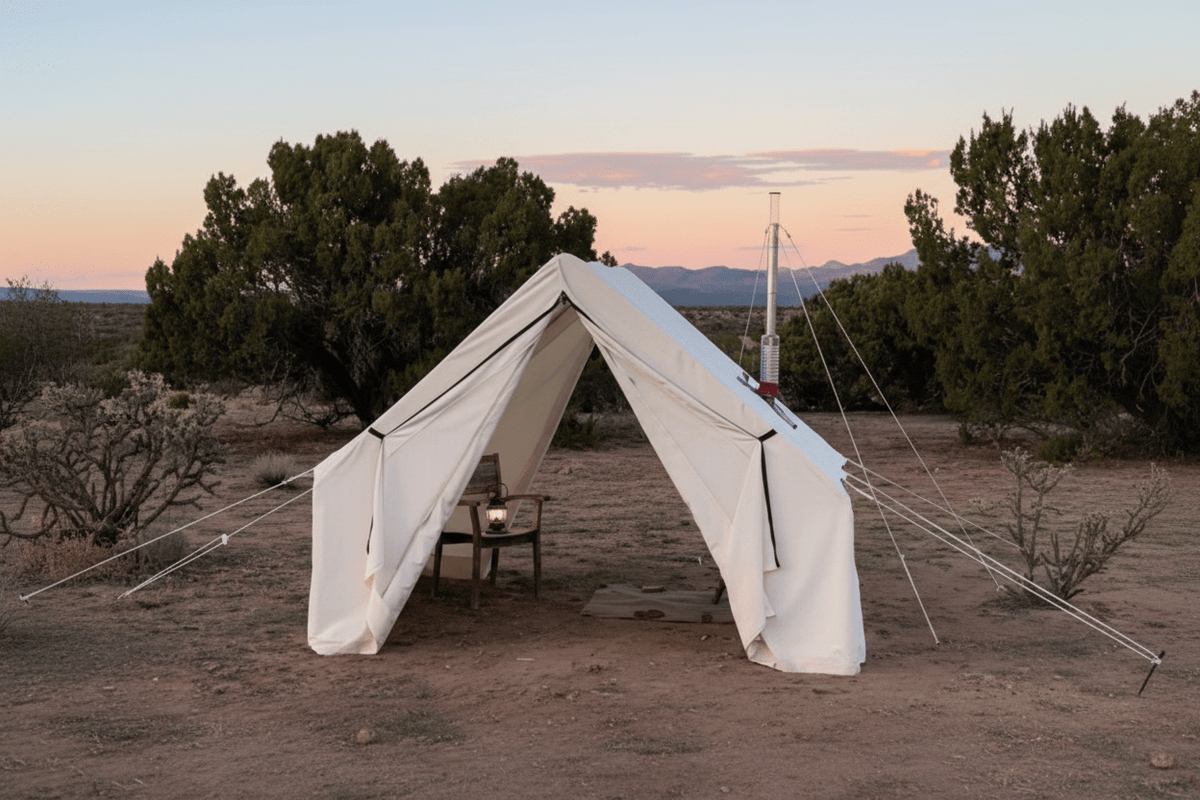
Learn how to set up your canvas wall tent and steel frame in minutes. Watch our video guide, follow step-by-step assembly instructions, and master your basecamp pitch!