The Pro’s Guide to Canvas Tent Repair and Maintenance
A Stout Tent is an investment designed to last a lifetime, but even the highest-quality Sunforger canvas faces the elements. Whether you are a glamping business owner managing a fleet or a backyard enthusiast, knowing the "sweet spot" of canvas tent cleaning and repair is essential to protecting your gear.
In this guide, we’re moving beyond basic hosing down. We’re diving into the technical maintenance that keeps your sanctuary watertight and pristine for years.
The Golden Rule: Prevention Over Repair
As noted in our Stout Tent Maintenance Guide, the biggest threat to canvas isn't rain—it's moisture trapped during storage. Always ensure your tent is bone-dry before packing. If you must strike camp while it’s raining, set it back up at home within 24 hours to air out.
Step-by-Step: Canvas Tent Repair
If you encounter a snag or a small tear, don't panic. Anyone can patch a canvas tent using a simple 2-3 step process. While a beginner can typically patch a hole in 30 to 60 minutes, catching the problem early during a post-trip inspection will save you significant time and money.
For the best results, we recommend using our Canvas Patch Kit, which includes a bottle of Tear Mender glue and authentic Stout Tent Canvas.
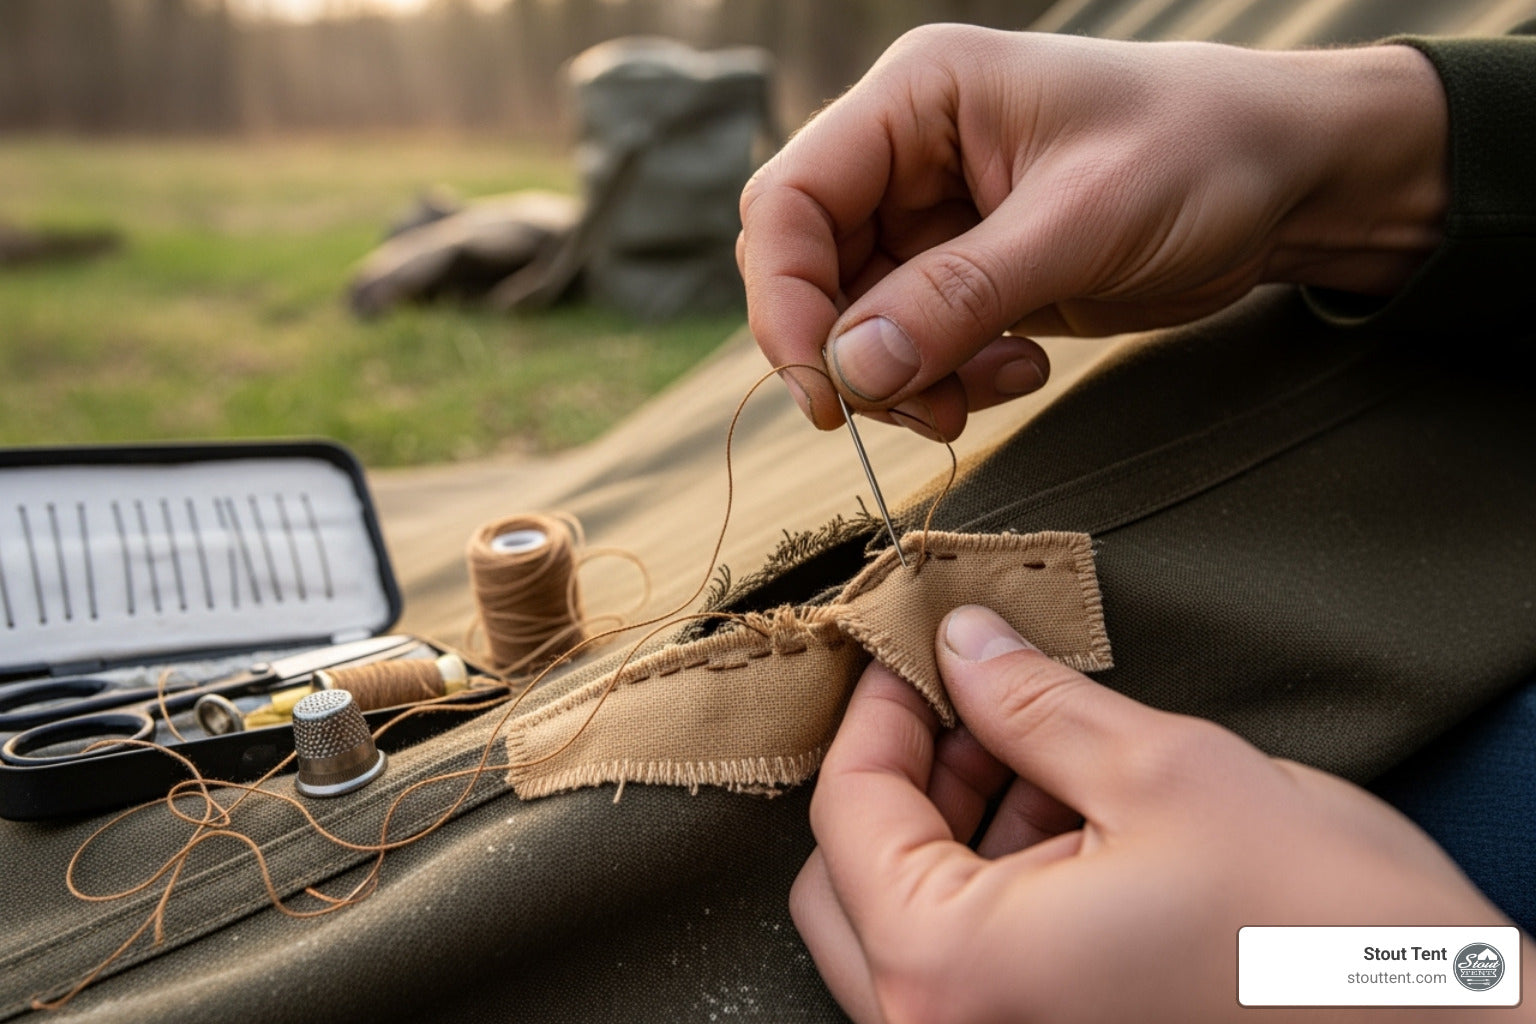
Step 1: Prep and Sew (For Larger Tears)
The great thing about canvas is that it can be easily sewn back together. For tears larger than a half-inch, we suggest sewing the hole shut before adding your patch.
-
Pro Tip: Use a Speedy Stitcher to create secure lock-stitches. If you’re new to sewing, practice on a scrap piece of cloth until you can create tiny, close seams that shut the hole securely.
Step 2: Cut the Patches
Once the area is sewn (or if the rip is less than a half-inch), you need to cover the damage to reinforce the weakened material.
-
The Shape: Cut two pieces of waterproof canvas (one for the inside, one for the outside). Always round the corners or cut a circle patch; square patches tend to peel at the sharp corners over time.
-
The Surface: Ensure the area around the tear is clean and the tent is bone-dry before moving to the next step.
Step 3: Apply the Patches
-
Inside Patch: Apply Tear Mender glue (available in our Canvas Patch Kit) to the bottom of your patch. Place it carefully over the tear, press firmly, and apply weight until dry.
-
Outside Patch: Repeat the process on the exterior of the tent. Doubling up the patches ensures a permanent, watertight bond.
-
Floor Repairs: If you are repairing a hole in the ground floor tent bottom, skip the glue and canvas. Use Gear Aid Tenacious Tape for a super-fast repair that takes less than a minute.
-
 A complete Canvas Patch Kit including Tear Mender and Sunforger canvas—essential for permanent tent repairs.
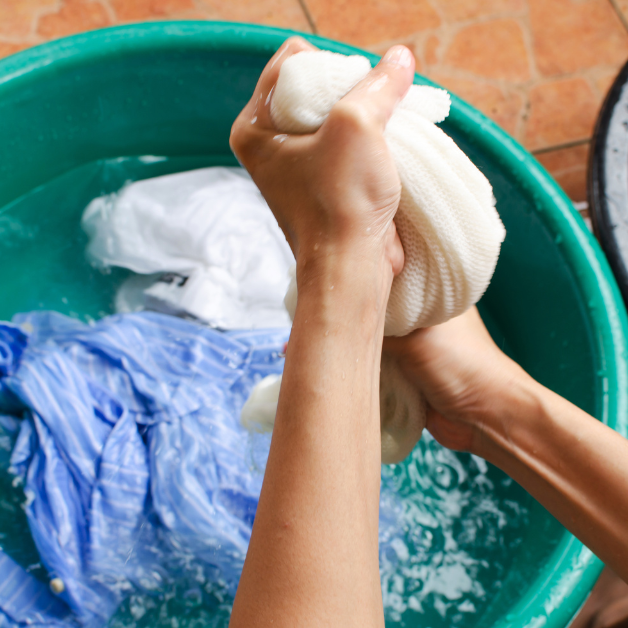
Battling the Elements: Canvas Tent Cleaning
Over time, dust, pollen, and tree sap can break down the UV protection on your canvas.
-
The Soft Touch: Never use a power washer or harsh detergents; these strip the waterproofing.
-
The Pro Mix: Use a specialized solution like Iosso or a very diluted mixture of OxiClean. Scrub gently with a soft-bristle brush, focusing on the "valleys" of the canvas where dirt settles.
-
Retreating: After a deep canvas tent cleaning, you must restore the water repellency. We recommend a fresh coat of 303 Fabric Guard or Star Brite once the tent is fully dry.
.
 Choosing the right gentle cleaners is the first step in preserving your tent's waterproofing.
Dealing with Mold and Mildew
If you spot those dreaded black dots, act fast. Mildew eats natural fibers. Use a 1:10 ratio of white vinegar to water to kill the spores without damaging the fabric. Once the mold is gone, rinse thoroughly and retreat the area with a waterproofing agent.
Proper maintenance isn't a chore—it's stewardship. By mastering canvas tent repair and keeping a regular cleaning schedule, you ensure your Stout Tent remains the high-performance retreat it was built to be.
For a deeper dive into seasonal care, download our full Maintenance Guide or explore our Canvas Repair Dealers if you need professional-grade structural work
Read more

Looking for a quiet place to escape? Discover how to design a backyard reading sanctuary in a bell tent—the perfect tech-free zone for deep focus, meditation, and rest.
Think keeping a canvas tent immaculate is difficult? Think again. From gentle dry brushing to safely removing stubborn mold without stripping your tent's natural weatherproofing, master the definit...