
Why Canvas Wall Tent Setup Matters for Glamping Operations
Wall Tent Setup is the foundation of a successful glamping business. For event producers scaling operations, the speed and simplicity of deployment directly impact labor costs, guest experience, and long-term asset value.
Quick Answer: Essential Wall Tent Setup Steps
- Pre-Setup Planning – Select level ground, inventory components, and prepare the site.
- Frame Assembly – Connect the angle kit and galvanized steel poles.
- Canvas Draping – Center and secure the canvas over the frame.
- Staking and Tensioning – Drive stakes at 45° angles and attach guy lines with tensioners.
- Interior Infrastructure – Install the stove jack, flooring, and furnishings.
- Long-Term Care – Dry completely before storage and maintain components.
An efficient setup relies on a quality frame system with an intuitive design, professional-grade canvas, and durable components. Traditional wall tent setup is often labor-intensive, but our systems are engineered for speed. What if one person could assemble a frame in under 15 minutes?
This straightforward setup reduces your Total Cost of Ownership. When your team can deploy a premium shelter quickly, you gain operational flexibility and build a scalable infrastructure that performs reliably season after season.
I’m Caitlyn Stout, founder of Stout Tent. I’ve spent over a decade refining Wall Tent Setup systems for enterprise clients deploying canvas shelters across six continents. My experience has shown me that the right infrastructure partner transforms your deployment timeline from a logistical challenge into a competitive advantage.
Pre-Setup Planning: The Foundation for an Efficient Canvas Wall Tent Setup
For large-scale events, meticulous pre-setup planning is a critical operational imperative. Logistical efficiency drives profitability, and it begins long before the first pole is handled. Our approach ensures every aspect of the Wall Tent Setup is considered, from site survey to component inventory, allowing your team to execute deployments with precision.
Essential Components for Your Professional Shelter
The success of any canvas shelter deployment hinges on the quality and completeness of its components. We provide professional-grade materials designed for resilience and intuitive assembly.
Our essential components include:
- Canvas tent body: Crafted from durable, weather-resistant canvas known for longevity in diverse climates.
- Angle kit: Precision-engineered fittings that connect the frame poles into a rigid structure.
- Steel pole set: Our proprietary, expert-tested poles offer superior strength and corrosion resistance.
- Stakes: Heavy-duty, reinforced steel rebar stakes for secure anchoring in high-traffic environments.
- Guy lines: Robust ropes chosen for strength and durability.
- Tensioners: Devices for precise adjustment of guy line tension.
- Mallet: For driving stakes firmly into the ground.
- Ground tarp: A protective layer to prevent moisture and extend the tent floor’s life.
- Transport bags: Durable bags to protect and organize all components.
These components are chosen for their reliability and contribution to the durability of our canvas shelters. For more information, please explore our canvas tents.
Site Selection and Orientation for Large-Scale Events
Strategic site selection dictates guest comfort, safety, and the stability of your Wall Tent Setup. Our expertise is honed through installations in environments from Phoenix, Arizona, to the US Pacific Northwest.
Key considerations for site selection include:
- Level ground: A relatively level surface is ideal. Building a canvas tent platform setup can provide a perfectly level and lifted foundation. For comprehensive guidance on platform construction, it’s best to follow established campsite standards to ensure a safe and stable foundation.
- Drainage: Deploy on higher ground or ensure proper trenching to prevent water accumulation.
- Wind and Stove Orientation: Orient the tent to minimize wind stress and direct stove sparks away from the canvas.
- Logistics: Plan for guest pathways, fire safety clearance, and proximity to amenities.
The 15-Minute Frame: Assembling the Structure
When managing multiple deployments on a tight schedule, every minute counts. We’ve engineered our Wall Tent Setup around an intuitive-pitch canvas shelter system that eliminates the complexity of traditional frame assembly.

Our steel frames are the result of a decade of refinement based on feedback from enterprise clients. The result is a frame that can be assembled in under 15 minutes. This isn’t about cutting corners—it’s about designing professional-grade materials that work with your team. The angle kit system is simple: no specialized tools, no confusing instructions. Each steel pole connects seamlessly into precision-engineered fittings, creating a rigid structure for high-traffic events.
Step-by-Step Frame Assembly
Our frame assembly follows a logical sequence that quickly becomes second nature.
- Lay out the angle kit pieces for a clear visual reference.
- Connect the ridge poles to form the central spine of the roof.
- Attach the rafters to the ridge and side angles, creating the complete roof skeleton on the ground.
- Lift one side of the frame and insert the leg poles.
- Repeat on the opposite side, ensuring all poles are firmly seated.
The frame stands stable and ready for canvas in minutes.
The Importance of a Quality Frame in Wall Tent Setup
Frame quality isn’t negotiable. Our galvanized steel frames deliver structural integrity and operational reliability. This confidence comes from expert-tested components proven in real-world conditions, from snow loads in Colorado to high winds in desert venues.
Snow load support is critical for operators in northern climates or lifted locations. Our frames manage significant snow accumulation, protecting your assets and reputation. Likewise, the inherent strength of galvanized steel provides excellent wind resistance, ensuring shelters remain secure when weather exceeds the forecast.
The real value is asset longevity and its impact on your Total Cost of Ownership. Professional-grade materials eliminate the hidden costs of repairs and replacements. A reliable frame becomes one of your most valuable assets for multi-year event calendars.
To learn more about how our canvas wall tents and frame systems can support your needs, explore our event tent rentals or contact our team for detailed specifications.
Draping and Securing the Professional-Grade Canvas
Once the galvanized steel frame is ready, the next phase of your Wall Tent Setup transforms the skeleton into a weatherproof shelter. This process is remarkably straightforward, a testament to years of design refinement.
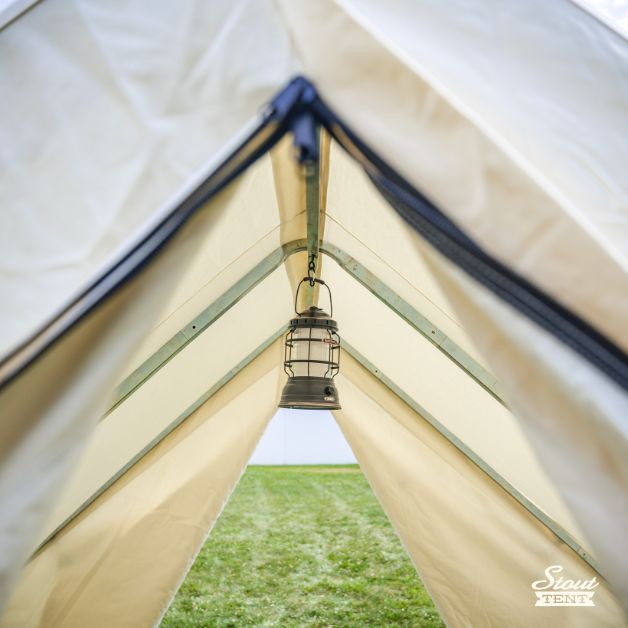
The draping technique begins with centering the canvas over the frame. Our canvas wall tents are engineered for seamless integration, so alignment is intuitive. After securing the ridge, the canvas falls into place. Next, install the fly cover to deflect UV rays, catch sparks, and improve water management. The sod cloth folds inward to create a ground seal, keeping drafts out and warmth in. Finally, proper staking and tensioning lock everything in place, maintaining the canvas’s optimal shape and ensuring the structure can handle wind loads.
Securing the Tent: Staking and Tensioning for Maximum Stability
Proper securing technique ensures your canvas shelter stands confidently through any storm. For professional Wall Tent Setup, we rely on methods that deliver maximum stability with minimal maintenance.
- Stakes: We specify heavy-duty rebar stakes driven at a 45-degree angle away from the tent. This geometry maximizes resistance against pulling forces.
- Tensioners: Quality rope tensioners allow for fine adjustments as the canvas expands and contracts with humidity, maintaining a taut, professional appearance.
- Tension Distribution: Even tension across all guy lines prevents stress concentration and premature wear. Walk the perimeter to ensure all lines feel similarly taut.
- High Wind: For deployments in high-wind areas, increase the number of guy lines and inspect tension regularly.
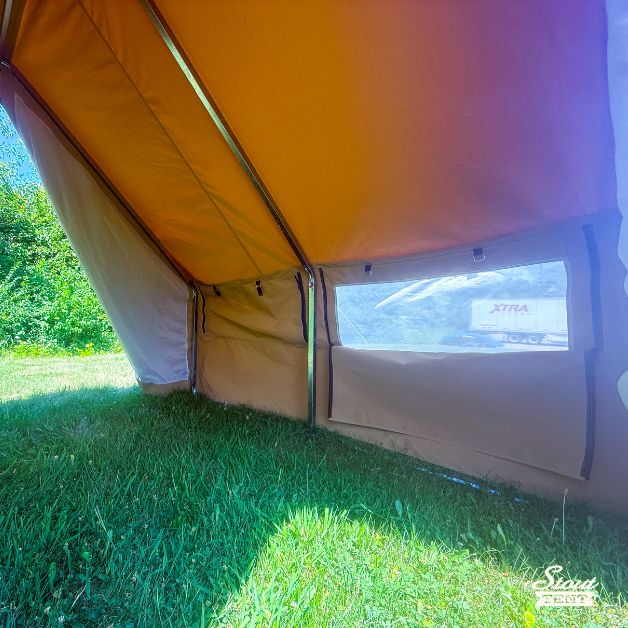
The Role of the Sod Cloth and Fly Cover
The sod cloth and fly cover are essential components that reduce operational burden and extend asset longevity. The sod cloth creates a ground seal for draft prevention and water management, directing moisture away from the interior. This simple feature is critical for keeping floors dry in damp climates.
The fly cover provides protection from above. Its rain fly benefits keep the interior dry, but its most significant contribution is UV protection. By absorbing damaging ultraviolet radiation, the fly cover acts as a sacrificial layer, extending the life of the main tent body. It also provides spark protection from wood stoves, preventing burn holes and costly repairs. Both components contribute to extending canvas life through passive protection, lowering replacement costs and improving your return on investment.
Interior Infrastructure and Long-Term Care
Interior infrastructure and long-term care are paramount to maximizing the value and guest experience of your canvas shelters. The integration of heating, flooring, and robust maintenance protocols ensures our canvas wall tents remain premium assets for decades, including proper wood stove installation.
At Stout Tent, we don’t sell ‘platform tents’ — we build canvas tents that perform beautifully on platforms. The platform is an optional foundation you can build to improve your tent’s comfort, drainage, and longevity. A raised canvas tent installation gives your canvas tent a foundation worthy of its craftsmanship, protecting the floor from moisture and improving airflow. For guidance, see our DIY portable tent platform deck guide.
Heating, Ventilation, and Your Wall Tent Setup
Proper heating and ventilation are critical to your Wall Tent Setup. Our expert-tested approach focuses on guest well-being and protecting your investment. Our tents feature strategically placed stove jacks made of heat-resistant material (fiberglass cloth) for optimal draw and safety. Proper stove pipe assembly and carbon monoxide safety protocols, including detectors, are non-negotiable. For authoritative public-health guidance on CO risks in enclosed spaces, review the CDC’s resource: Carbon Monoxide Poisoning FAQs. To prevent condensation, balance heat retention with fresh airflow by partially opening doors or vents. For detailed specifications, please contact our team for specs.
Maintaining Your Investment: Cleaning and Storage
Diligent maintenance directly impacts asset longevity and your Total Cost of Ownership. Proper cleaning and storage are essential for protecting your Wall Tent Setup investment.
- Drying: The most critical step is to dry the canvas completely before storage to prevent mildew. Air out tents thoroughly after every use.
- Cleaning: For mildew prevention, store tents in a cool, dry, well-ventilated space. Brush off dirt after each event and spot clean with mild soap and water.
- Storage: Use proper folding techniques to minimize creasing. Store tents off the ground in a rodent-free storage environment.
- Component Care: Periodically clean and lubricate zippers to ensure smooth operation.
Following these practices ensures your canvas wall tents remain reliable, aesthetically pleasing assets for years of service.
Ready to Scale Your Event with Professional-Grade Accommodations?
The efficiency of your Wall Tent Setup directly impacts your bottom line. When your team can deploy a premium canvas shelter in under 20 minutes, you’re not just saving on labor costs—you’re building operational flexibility that scales across your entire event calendar.
Our canvas wall tents are engineered with this reality in mind. The intuitive frame system, built from galvanized steel components, eliminates the complexity that traditionally plagued canvas shelter deployment. Your crew doesn’t need specialized training or multiple attempts to get it right. The straightforward setup process means you can confidently add accommodations to your event infrastructure without expanding your labor budget or extending your deployment timeline.
This is infrastructure that performs reliably, season after season. Our expert-tested, professional-grade materials aren’t just about durability—they’re about predictability. When you’re planning large-scale productions 12-18 months in advance, you need to know your shelters will arrive on schedule, deploy as expected, and deliver an unparalleled guest experience without requiring constant maintenance or replacement.
We’ve spent over a decade partnering with event producers who understand that premium accommodations are an investment, not an expense. The Total Cost of Ownership for our canvas wall tents consistently outperforms alternatives because quality components simply last longer. Fewer replacements, less downtime, and a proven track record across six continents—that’s the infrastructure advantage we bring to your operations.
Whether you’re launching your first glamping element or scaling to multiple locations, we’re here to support your vision with reliable, weather-tested canvas shelters designed for the demands of enterprise-level productions.
Explore our selection of Canvas Wall Tents or Contact our team for detailed specifications and layout guidance custom to your specific event requirements.
