Why Proper Canvas Tent Care is Essential for Your Investment
Canvas tent waterproofing is the key to protecting your investment and ensuring years of reliable shelter. Whether you’re running a glamping business or planning extended outdoor adventures, understanding how to maintain your canvas bell tent’s water resistance is crucial for both durability and guest satisfaction.
Quick Guide to Canvas Tent Waterproofing:
- New tents need seasoning – Soak and dry your tent 2-3 times to naturally tighten the weave
- Re-waterproof when water soaks in instead of beading off the surface
- Clean before treating – Remove dirt and debris for best results
- Apply treatments evenly using spray or brush methods
- Allow 12-24 hours for complete curing before use
Canvas has been the gold standard for portable shelter for centuries, and there’s good reason why. As one expert noted, “Canvas tents are practically immortal if you ensure they’re completely dry before storage” and maintain their protective treatments properly.
The reality is stark: A canvas tent can last 15-30+ years with proper care. Without it, many owners find water damage the hard way—a costly and unpleasant surprise.
For glamping operators, this maintenance isn’t just about tent longevity – it’s about guest experience and business reputation. A leaking tent can turn a memorable getaway into a disaster, while properly maintained canvas creates the comfortable, breathable environment that keeps customers coming back.
I’m Caitlyn Stout, founder of Stout Tent, and I’ve spent years perfecting canvas tent waterproofing techniques across six continents, from Australian beaches to African deserts. My experience with large-scale deployments and harsh environments has taught me that proper canvas tent waterproofing isn’t just maintenance – it’s the foundation of a successful outdoor hospitality business.

The Foundation of a Watertight Tent: Seasoning vs. Waterproofing
If you’re new to canvas bell tents, you’ve probably heard two terms thrown around: “seasoning” and “waterproofing.” While they sound similar, they’re actually two different approaches to keeping your tent dry. Think of them as partners in crime – both working together to create your perfect outdoor sanctuary.

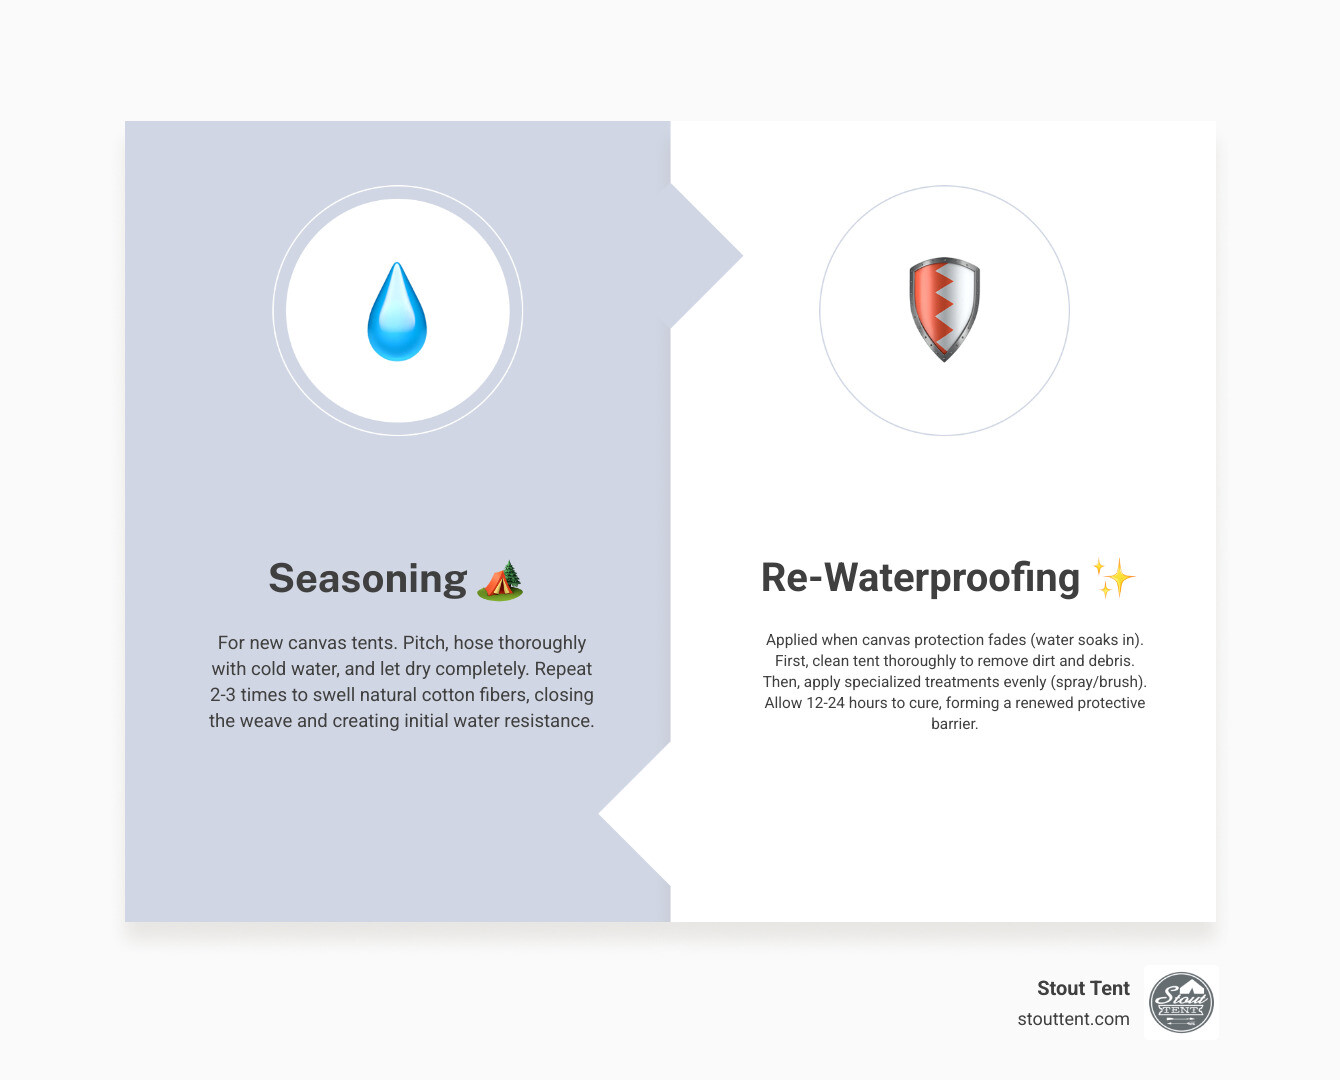
Seasoning is nature’s first waterproofing step. When you soak a new canvas bell tent, the cotton fibers swell like tiny sponges; as the fabric dries, those fibers contract and pull the weave tight, closing the microscopic gaps between threads. The result is simple and smart: the canvas “teaches” itself to shed rain before you ever add a treatment.
Canvas tent waterproofing, on the other hand, involves applying protective treatments to boost your tent’s water resistance. These products create an extra barrier against rain, UV rays, and even mold. While seasoning uses the canvas’s natural properties, waterproofing adds a protective shield that can last for months or even years.
The beauty is that these two methods work hand in hand. Seasoning creates the foundation, while waterproofing treatments provide the extra protection your canvas bell tent needs for long-term durability.
The Natural Method: How to Season Your New Canvas Bell Tent
Getting a brand new canvas bell tent is exciting, but before you head off on your first adventure, there’s an important ritual to complete: seasoning. This process might seem like extra work, but it’s actually your tent learning how to protect you better.
Should you waterproof a brand new canvas bell tent? The answer might surprise you. Most new tents come with some water-resistant treatment from the factory, but jumping straight to additional waterproofing can actually interfere with the natural seasoning process. It’s like putting a raincoat on someone before they’ve learned to swim – the natural skills never develop properly.
Here’s how to season your canvas bell tent the right way:
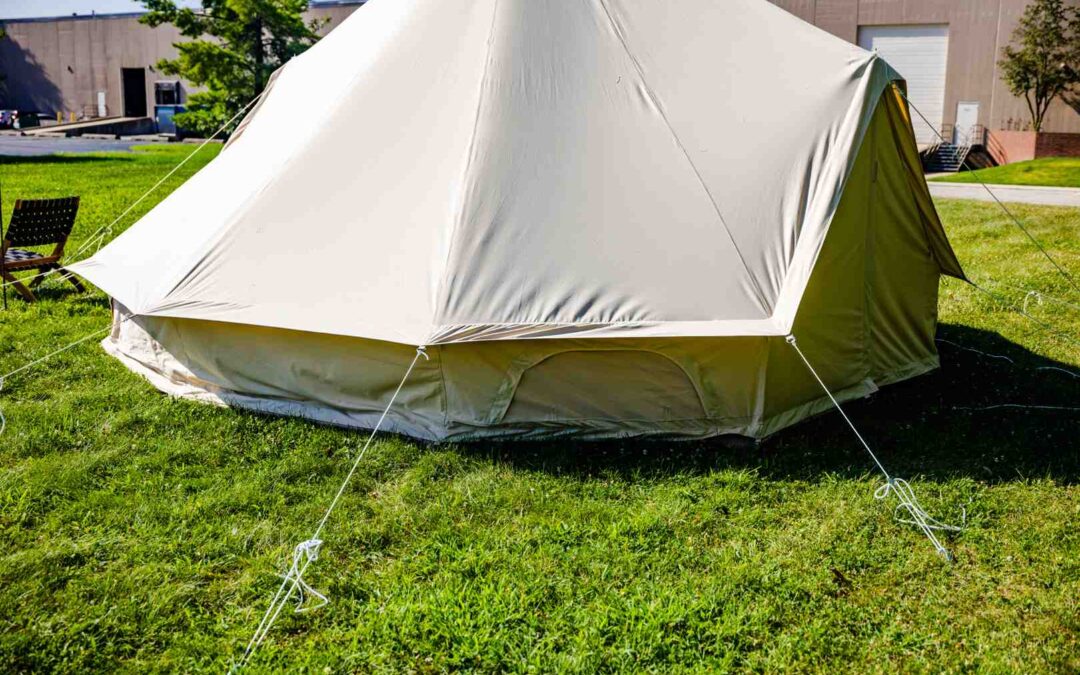
Pitch your tent completely in a sunny, open area with all guy lines tight and the fabric taut. This tension helps the canvas settle into its proper shape.
Next, use a garden hose to thoroughly soak the tent’s exterior with cold water. Work from the peak down, focusing on seams and stress points to ensure every fiber is saturated.
While wet, check inside for pinpricks of light. These spots indicate where the weave will tighten. Seeing a few is normal and what the seasoning process corrects.
Let the tent dry completely—bone dry. This can take a full day in the sun or up to two in humid weather. During this drying phase, the cotton fibers contract and tighten the weave.
If you’re still experiencing leaks after proper seasoning, read our guide, Why is my canvas tent leaking? Troubleshooting leaks, to help you track down the culprit.
Restoring Protection: When to Apply a Waterproofing Treatment
Even the most perfectly seasoned canvas bell tent won’t stay waterproof forever. Sun, rain, dirt, and time all take their toll on your tent’s natural defenses. The good news is that your tent will tell you exactly when it needs some canvas tent waterproofing TLC.
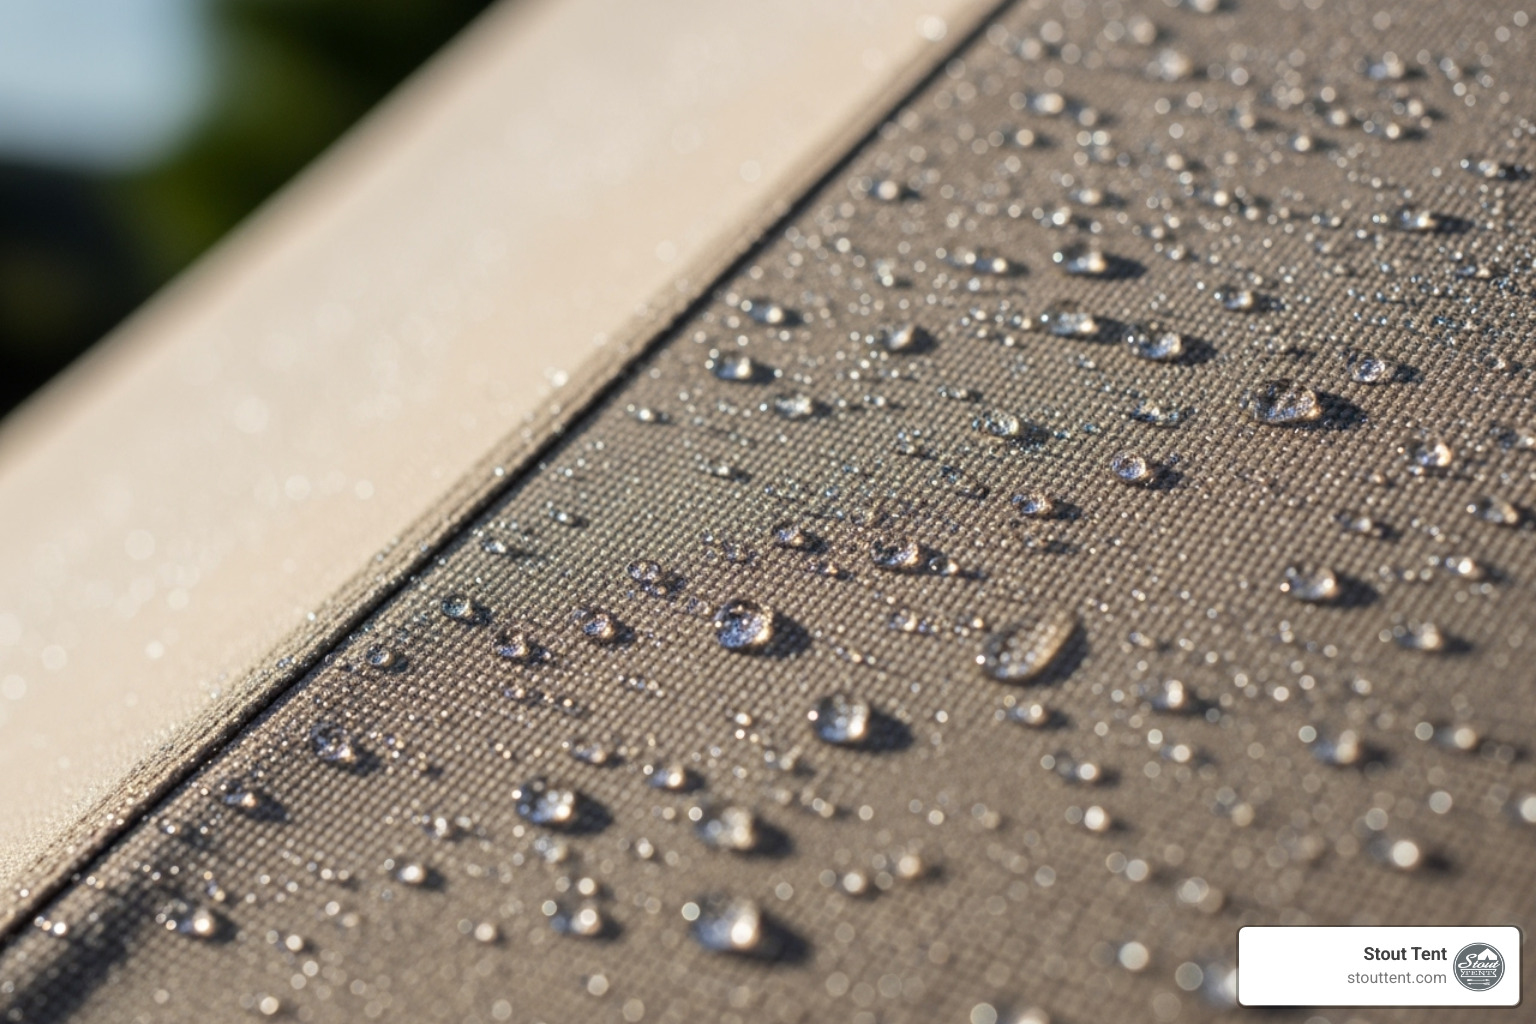
The most reliable test is to observe how water interacts with the canvas. On a protected tent, water should bead up and roll off. If it starts soaking into the fabric instead, it’s time to re-waterproof.
You might also notice dark patches appearing on the canvas when it gets wet. This “wetting out” means the fabric is absorbing water instead of repelling it. Your tent becomes heavier, takes longer to dry, and eventually those damp spots might start dripping inside.
The most unpleasant sign is finding puddles inside your tent after a rainstorm. Nobody wants to find this the hard way during a camping trip!
How often you need to re-treat depends on how much your tent works for you. If you’re running a glamping operation or have your canvas bell tent set up semi-permanently, you might need to reproof every few months. Weekend warriors who camp a few times a year can usually get away with annual treatments.
Climate plays a huge role too. The intense desert sun of Nevada will break down waterproofing treatments faster than the mild summers of the Pacific Northwest. High humidity areas might need more frequent treatments to prevent mold and mildew.
The best approach is simply watching your tent’s performance. When water stops beading off the surface, it’s time for a refresh. For more detailed timing advice from experienced canvas tent users, check out our advice on when to re-proof from other campers.
The Complete Guide to Canvas Tent Waterproofing
Once you’ve determined that your canvas bell tent is ready for a canvas tent waterproofing treatment, it’s time to get to work. Think of this as giving your tent a spa day – it deserves some pampering! This isn’t just about slapping on a product; proper preparation and application are the difference between a treatment that lasts years and one that fails at the first heavy rain.

Step 1: Preparing Your Canvas Tent for Treatment
Proper prep work is what makes a waterproofing job last. Rushing this step often leads to the treatment washing off in the first storm. Your canvas bell tent needs to be absolutely spotless before any treatment goes on.
Think of it like painting a house – you wouldn’t paint over dirt and grime. Any debris, old treatments, or mold will create a barrier between your new waterproofing and the canvas fibers.
Start with a completely dry tent. This might seem obvious, but moisture trapped under a new waterproofing layer is a recipe for mold and treatment failure. If your tent has been stored damp or recently used, give it a full day to air out completely.
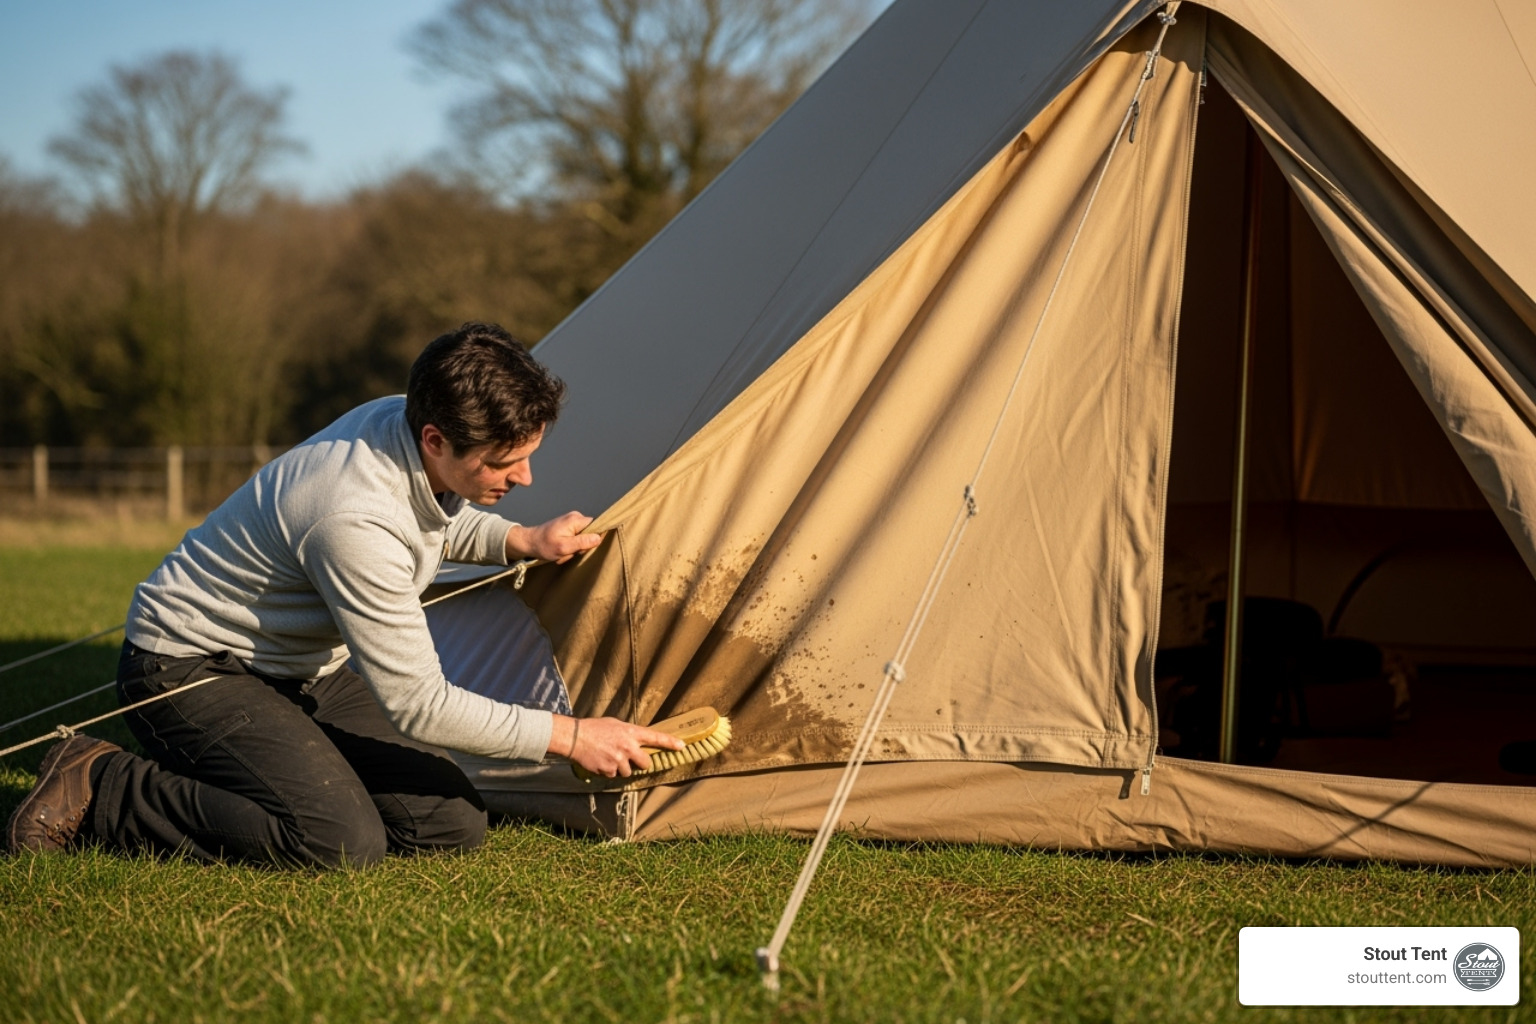
Brush off loose dirt first with a soft-bristled brush. Work from top to bottom, paying extra attention to areas where dirt tends to accumulate – around the base, near guy-out points, and along seams. For stubborn dirt or mud, let it dry completely first, then brush it off. Trying to clean wet mud just spreads it around.
Deep cleaning comes next if your tent needs it. Use only canvas-specific cleaners or very mild soap solutions. Harsh detergents can strip away the canvas’s natural protective qualities and damage the fibers. After cleaning, rinse thoroughly with clean water and allow the tent to dry completely again. Yes, this means more waiting, but patience pays off with years of reliable protection.
If you’re dealing with mold or mildew (the nemesis of canvas tent owners everywhere), our detailed guide on How to Clean Mold from a Canvas Tent will walk you through the process safely and effectively.
Step 2: Choosing and Applying the Right Canvas Tent Waterproofing Product
Choosing and applying your waterproofing treatment is the main event. With many products available, the key is to always choose one designed specifically for canvas. Your canvas bell tent needs to breathe, and generic waterproofing products can seal the pores completely, turning your comfortable shelter into a condensation nightmare.
The best canvas tent waterproofing products fall into three main categories, each with distinct advantages. Silicone-based sprays offer incredible ease of use and excellent coverage – perfect for busy glamping operators or weekend warriors who want quick, effective protection. These products go on evenly, dry quickly, and provide good UV protection along with water repellency.
Concentrated brush-on treatments give you the most bang for your buck and often provide the most durable protection. These eco-friendly options penetrate deep into the canvas fibers, creating a hydrophobic barrier that makes water bead up and roll off like magic. They require a bit more elbow grease to apply but typically last longer than spray treatments.
For the ultimate in heavy-duty protection, traditional wax-based preservatives are the gold standard. These industrial-strength treatments have been protecting canvas for generations. They’re particularly valuable for older tents or those facing harsh conditions. While they take more effort to apply, they provide exceptional resistance to water, UV rays, and mold.
The application process requires attention to detail. Pitch your canvas bell tent tautly in a well-ventilated area on a dry, calm day. Temperature matters too – warm conditions help the treatment penetrate and cure properly.
Work systematically from top to bottom, ensuring even coverage across every inch of canvas. Pay special attention to seams – these are where most tent leaks start. Seams endure more stress and often have tiny gaps where water can sneak through. Give them extra coats and consider using a dedicated seam sealer for maximum protection.
Whether you’re spraying or brushing on your treatment, maintain consistent coverage. Thin spots will fail first, while over-application can create sticky patches that attract dirt and debris.
Step 3: Curing and Testing Your Newly Waterproofed Tent
This final step is crucial. Proper curing is absolutely critical for long-lasting canvas tent waterproofing. Rushing this step means you’ll be reapplying the treatment much sooner.
Most treatments need at least 12-24 hours to fully bond with the canvas fibers. This isn’t just drying time – it’s chemical bonding time. The molecules in your waterproofing treatment are literally attaching themselves to the cotton fibers, creating a protective barrier that moves with the fabric.
Weather conditions during curing make a huge difference. Warm, dry, low-humidity days are ideal. If rain threatens within your curing window, wait for better conditions. A premature soaking can wash away your treatment before it has a chance to bond properly.
Testing your work is the moment of truth. Once fully cured, grab your garden hose and give the tent a gentle spray test. Watch how the water behaves – it should bead up and roll off like mercury on glass. If you see dark patches where water is soaking in, make note of those areas.
Spot treatment of missed areas is normal and expected. No application is perfect the first time. Let any problem areas dry completely, then apply another coat of treatment just to those spots. It’s much easier to touch up a few areas now than to deal with leaks during your next camping trip.
Even with perfect waterproofing, minor repairs might be needed over time. Our guide on Repairing Your Own Tent covers everything from small punctures to seam repairs, helping you keep your canvas bell tent in top condition for years of adventures.
Maintaining Your Tent’s Health: Breathability and Long-Term Benefits
Think of proper canvas tent waterproofing as a health insurance policy for your canvas bell tent. Just like taking care of your own health pays off in the long run, maintaining your tent’s protective barrier ensures it will serve you faithfully for decades to come.

Why does breathability matter so much in canvas bell tents?
One of the biggest reasons people choose canvas over synthetic tents is that magical breathability factor. Canvas naturally allows air to flow through its weave, creating a comfortable living space that doesn’t feel like you’re sleeping inside a plastic bag. But here’s the concern many campers have: won’t waterproofing treatments block this natural airflow?
The good news is that quality canvas tent waterproofing products are specifically designed to work with your canvas, not against it. Modern treatments work by coating individual fibers rather than creating a solid barrier across the fabric’s surface. Think of it like giving each fiber a tiny raincoat while still leaving pathways for air to move through.
This fiber-level protection maintains the breathability that makes canvas bell tents so comfortable. You’ll still get that natural temperature regulation that prevents the stuffy, humid feeling common in synthetic tents. More importantly, proper airflow helps prevent condensation from building up inside your tent – that annoying dampness that can make even a waterproof tent feel wet and uncomfortable.
When your canvas bell tent can breathe properly, you avoid that clammy feeling and create a more pleasant environment for sleeping. This is especially crucial for longer camping trips or glamping setups where guests expect comfort. For more tips on maintaining that cozy interior environment, check out How to Stay Warm in Your Tent.
The investment protection you can’t ignore
Here’s where canvas tent waterproofing really shines as a smart financial decision. A well-maintained canvas bell tent can easily last 15 to 30 years – sometimes even longer with proper care. That’s not just marketing talk; it’s the reality of what happens when you protect your canvas from its biggest enemies.
UV rays are silently working against your tent every sunny day, breaking down fibers and making the canvas more vulnerable to tears and leaks. Quality waterproofing treatments include UV inhibitors that act like sunscreen for your tent, dramatically slowing this degradation process.
Moisture damage is another silent killer. When water soaks into untreated canvas and sits there, it creates the perfect breeding ground for mold and mildew. These aren’t just unsightly – they actually eat away at the canvas fibers, weakening your tent from the inside out. A properly waterproofed canvas bell tent sheds water quickly and dries faster, giving mold and mildew much less opportunity to take hold.
For glamping operators, this protection translates directly to business success. A tent that consistently performs well, staying dry and comfortable in various weather conditions, means happy guests and positive reviews. A leaking or moldy tent, on the other hand, can damage your reputation and require costly replacements.
The math is simple: spending a little time and money on regular canvas tent waterproofing can literally double your tent’s lifespan. When you consider that a quality canvas bell tent is a significant investment, this maintenance becomes one of the smartest things you can do to protect that investment and ensure years of reliable outdoor adventures.
Frequently Asked Questions about Canvas Tent Waterproofing
After years of helping canvas bell tent owners across six continents, I’ve heard just about every question imaginable about canvas tent waterproofing. Let me share the answers to the most common ones – and trust me, these questions come up at least once a week!
Can I use a DIY or natural waterproofing solution?
The appeal of a traditional, DIY approach is understandable, especially when enjoying nature in a canvas bell tent.
The historical appeal is real. For centuries, people have been treating canvas with natural materials. Early tent makers used everything from beeswax mixed with turpentine to linseed oil applications and even paraffin wax treatments. Some old-timers swear by these methods, and I’ve met folks who still use great-grandmother’s recipe for canvas care.
However, these DIY methods have significant drawbacks for modern canvas bell tents. Beeswax treatments can make your canvas stiff and heavy, especially in cold weather. Linseed oil might go rancid over time and can actually attract insects – not exactly what you want when you’re trying to enjoy a peaceful evening in your tent!
The bigger issue is reliability. When you’re running a glamping business or planning that once-in-a-lifetime camping trip, you need waterproofing that works consistently. DIY solutions often create patchy coverage, leaving weak spots that become leak points during heavy rain.
Modern formulas exist for good reason. Today’s canvas tent waterproofing products are specifically engineered to work with cotton canvas fibers. They maintain breathability while providing superior protection against water, UV rays, and mold. After seeing too many beautiful canvas bell tents damaged by well-intentioned but ineffective DIY treatments, Stout Tent strongly recommends using products designed specifically for canvas bell tents.
Your tent is an investment – treat it with products that match its quality and engineering.
How does waterproofing affect the breathability of my canvas tent?
This is a crucial question, as breathability is a key feature of canvas tents. No one wants to trade that wonderful, breathable canvas comfort for a stuffy, plastic-feeling interior!
The secret is in the science. Quality canvas tent waterproofing treatments don’t work like house paint or plastic coatings. Instead of creating a solid barrier, they coat individual cotton fibers in your canvas. This changes the surface tension, making water bead up and roll off while still allowing air to move through the tiny spaces between woven threads.
Imagine your canvas weave as a chain-link fence. Poor waterproofing is like covering that fence with a solid sheet of plastic – nothing gets through. Good canvas waterproofing is like coating each wire in the fence with a slippery substance. Water slides off, but air still flows freely through the gaps.
This maintains the comfort you love. Your canvas bell tent continues to regulate temperature naturally, preventing that clammy feeling you get in synthetic tents. More importantly, it prevents condensation buildup that can make mornings miserable and create conditions for mold growth.
The key is choosing canvas-specific products. Generic waterproof sprays or marine sealants might indeed create that dreaded plastic barrier effect. Always look for treatments that specifically mention maintaining fabric breathability – your comfort depends on it! For more tips on staying comfortable in your tent, check out our guide on How to Stay Warm in Your Tent.
Should I use a rain fly instead of re-waterproofing my tent?
A rain fly is a valuable addition to your setup, but it’s not a complete replacement for proper canvas tent waterproofing.
Rain flies are fantastic protective partners. Think of a Rainfly as your tent’s umbrella and sunhat rolled into one. It shields your canvas from direct UV exposure, which is one of the biggest threats to waterproofing treatments. It also keeps your main tent cleaner by catching tree sap, bird droppings, and other debris that would otherwise require frequent cleaning.
For long-term setups like glamping sites, a rain fly can significantly extend the time between waterproofing treatments. It takes the brunt of weather abuse while your main canvas stays protected underneath. In heavy rain or extended wet periods, that extra layer provides additional security against leaks.
But your main tent still needs love. Your canvas bell tent is still doing the primary job of sheltering you. If its waterproofing fails, a rain fly helps but won’t prevent all problems, especially with wind-driven rain that can find its way between the fly and tent.
Proper canvas care remains essential. Even with a rain fly, your main tent benefits from regular cleaning, seasoning (for new tents), and periodic waterproofing. Think of it like wearing a raincoat over your regular clothes – you still want good clothes underneath!
The best approach combines both: maintain your canvas bell tent with proper canvas tent waterproofing and use a rain fly for extra protection and longevity. This partnership gives you the ultimate defense against whatever weather comes your way.
Conclusion: Protecting Your Investment for Years of Adventure
Your canvas bell tent is more than just shelter – it’s your gateway to countless adventures, whether you’re running a glamping business or creating family memories under the stars. After walking through everything from that first crucial seasoning to ongoing canvas tent waterproofing maintenance, you now have the knowledge to keep your tent performing beautifully for decades.
Think of tent care as a relationship. The more attention you give your canvas bell tent, the better it serves you. Seasoning your new tent properly sets the foundation for this partnership, allowing those natural cotton fibers to work their magic and create a naturally water-resistant barrier. It’s amazing how something as simple as water and patience can transform your tent’s performance.
Cleanliness really is the secret weapon in tent maintenance. A clean canvas accepts waterproofing treatments like a sponge, while a dirty one fights against your best efforts. When you notice water soaking in rather than dancing off the surface, or when you spot those telltale dark patches, your tent is simply asking for some TLC.
The beauty of modern canvas tent waterproofing products lies in their ability to improve protection without sacrificing the breathability that makes canvas so comfortable. Whether you choose a spray for convenience, a brush-on treatment for durability, or a traditional wax for maximum protection, you’re investing in years of dry, comfortable camping.
At Stout Tent, we’ve seen how proper maintenance transforms tent longevity. Our experience producing large-scale glamping events across the country has taught us that a well-maintained canvas bell tent isn’t just an expense – it’s an investment that pays dividends in reliability, guest satisfaction, and peace of mind. We’ve watched tents that receive regular care outlast their neglected counterparts by decades.
Your Stout Tent canvas bell tent was built to last, designed with the durability and quality that comes from real-world testing in demanding environments. With the canvas tent waterproofing knowledge you now have, you’re equipped to protect that investment and ensure it serves you faithfully through countless adventures.
Ready to give your tent the care it deserves? To ensure your tent has everything it needs for a long and dry life, explore our full range of tent care accessories. Your future self – and your tent – will thank you.

